What is a Workbook?
A workbook is a canvas where you chain multiple nodes together to build your automation. You drag nodes from the library onto the canvas, connect them in sequence, and create workflows that process data, use AI, and integrate with external services.Visual Canvas
Drag and drop nodes, then connect them with edges to define the workflow of data through your automation
Multiple Workflows in Tabs
Each tab at the bottom is a separate workflow. Keep related workflows together in one workbook (like how Excel has multiple sheets in one file)
Version Control
Track run history and save checkpoints to preserve working versions
Workbook Navigation & Controls
Navigate your workbook canvas efficiently with these controls:Basic Navigation
- Zooming
- Panning
- Selecting
- Scroll wheel: Zoom in and out
- Trackpad: Use pinch gestures to zoom or two finger swipe
- Keyboard:
Cmd/Ctrl + 0to fit entire workflow in view
Canvas Control Buttons
Located in the bottom right corner of your canvas, you’ll find these helpful controls:
Fit View
Fit View
Automatically adjusts the zoom and position to show your entire workflow on screen. Perfect for getting a bird’s-eye view of complex workflows.
Auto Format
Auto Format
Automatically arranges your nodes in a clean, organized layout. Use this when your canvas gets messy or after making significant changes.
Expand All Nodes
Expand All Nodes
Expands all nodes simultaneously, making it easy to review your entire workflow’s logic.
Collapse All Nodes
Collapse All Nodes
Collapses all node nodes to clean up your canvas and focus on the workflow structure.
Snap to Grid
Snap to Grid
Toggles grid snapping to help align nodes precisely. Great for creating visually organized workflows.
Understanding Tabs and Subflows
The tabs you see at the bottom of your workbook are actually individual subflows. This is important to understand: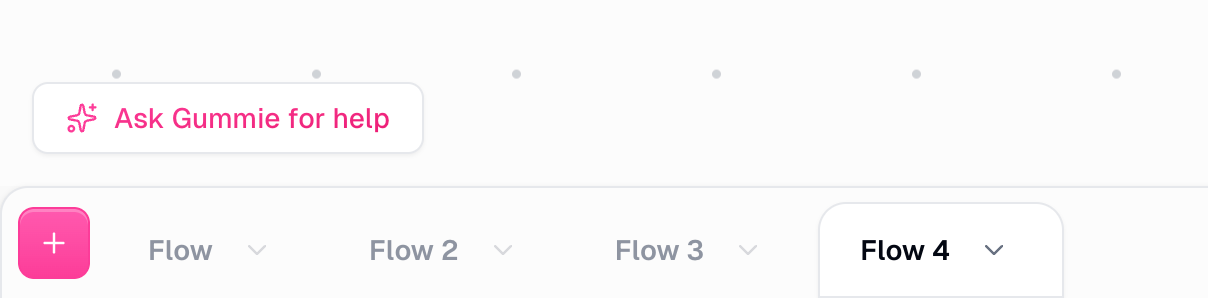
- Each tab represents a complete workflow that can run independently
- Tabs can also be used as reusable components (subflows) within other workflows
- The main workflow is just one tab, and you can create additional tabs for modular organization
To learn more about how subflows work and how to use them effectively, see the Subflows documentation.
Managing Tabs
1
Create a new tab
Click the plus
+ icon in the bottom bar to add a new workflow to your workbook2
Right-click for options
Right-click on any tab to rename, duplicate, or delete workflows within your workbook
3
Name descriptively
Give each tab a clear name that indicates its purpose for easy navigation
Converting Nodes into Subflows
As your workflows grow complex, you can easily convert groups of nodes into modular subflows:1
Select nodes
Hold
Shift and drag to select the nodes you want to group2
Click 'Make Subflow'
Click the “Make Subflow” button in the bottom bar
3
Automatic setup
The selected nodes move to a new tab, and inputs/outputs are automatically configured

Running and Debugging
Click the Run button in the top right corner to execute your workflow. A run report appears showing real-time progress through each node.
Resume Button for Faster Iteration

Pro Tip: Use Resume to Save Time
Instead of re-running an entire workflow, use the Resume button (
Cmd/Ctrl + Shift + Enter) to jump to a specific node and continue from there. This saves credits and dramatically speeds up development when you’re iterating on specific parts of your workflow.Viewing Run History
Track and debug workflow executions directly from the canvas:1
Save your workbook
Ensure your workbook is saved to enable run history tracking
2
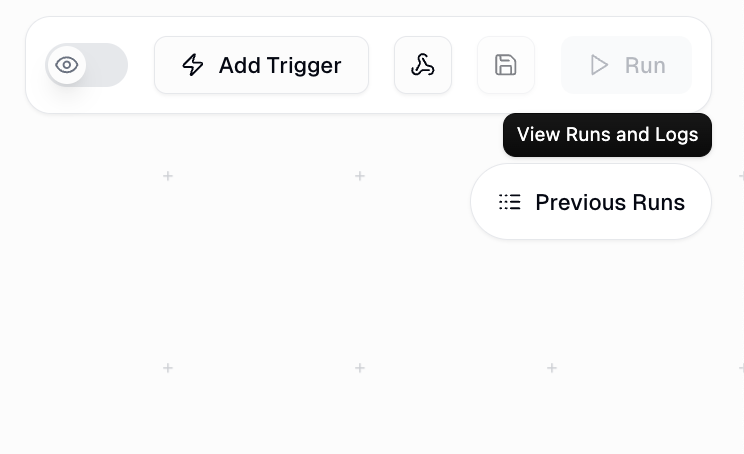
Click 'Previous Runs'
Click the “Previous Runs” icon in the top right corner
3
Review execution details
View current runs, past executions, success/failure status, and detailed node information
Run Log Documentation
Learn more about debugging with the run log
Sharing Workbooks
Share your workbooks with team members, collaborators, or external stakeholders using Gumloop’s sharing system. You can control exactly who has access and what they can do.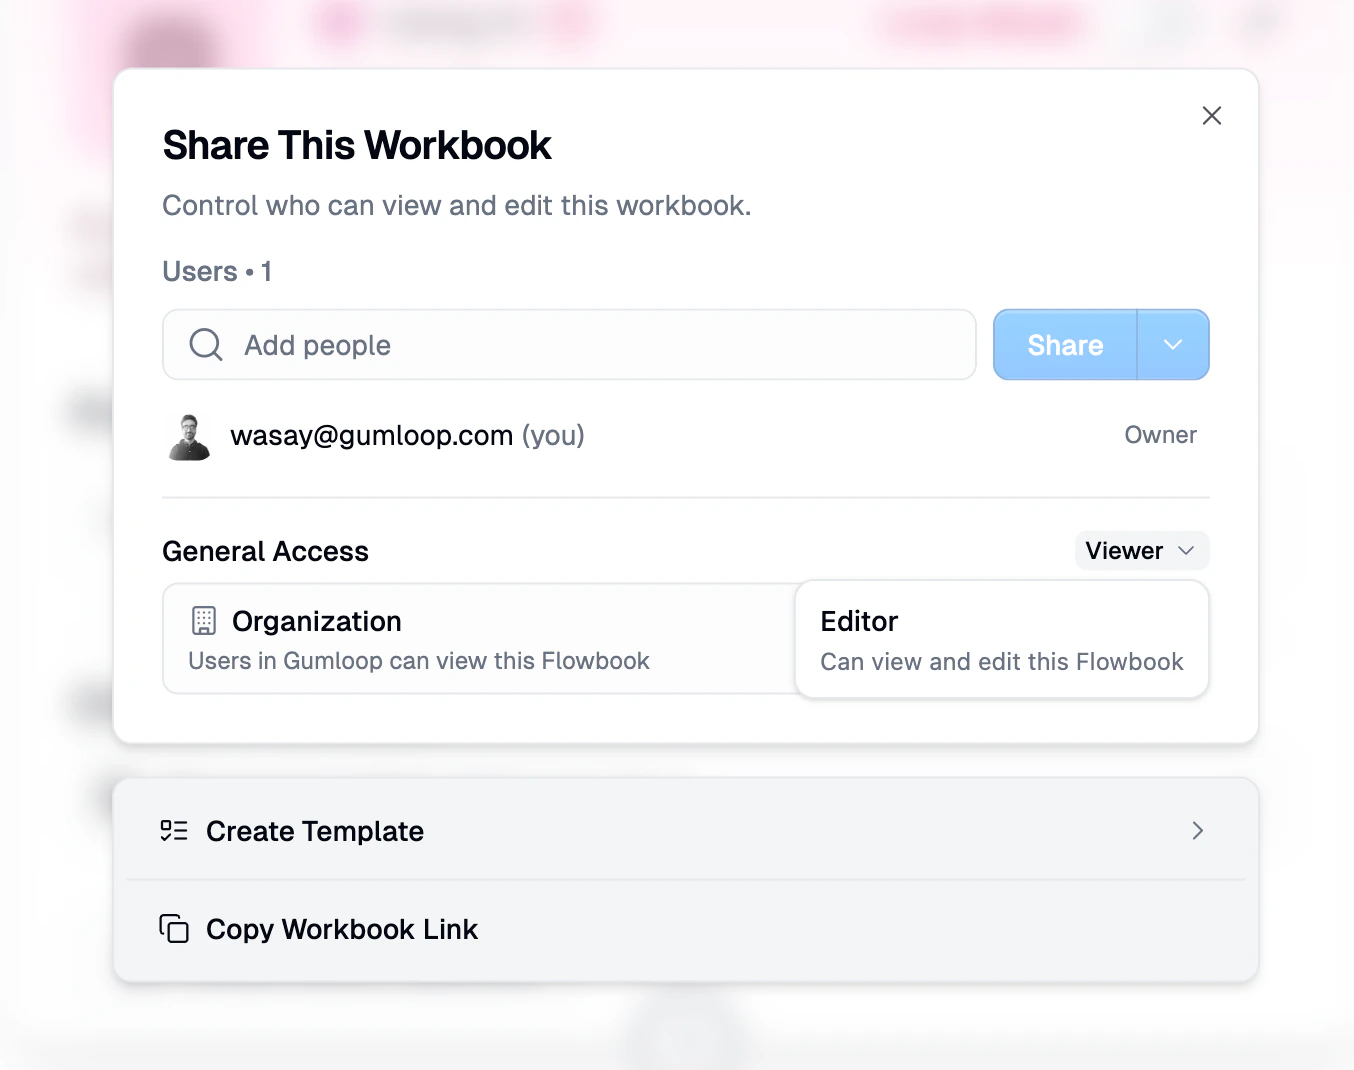
Sharing with Specific Users
Add individual users by email and assign them a role: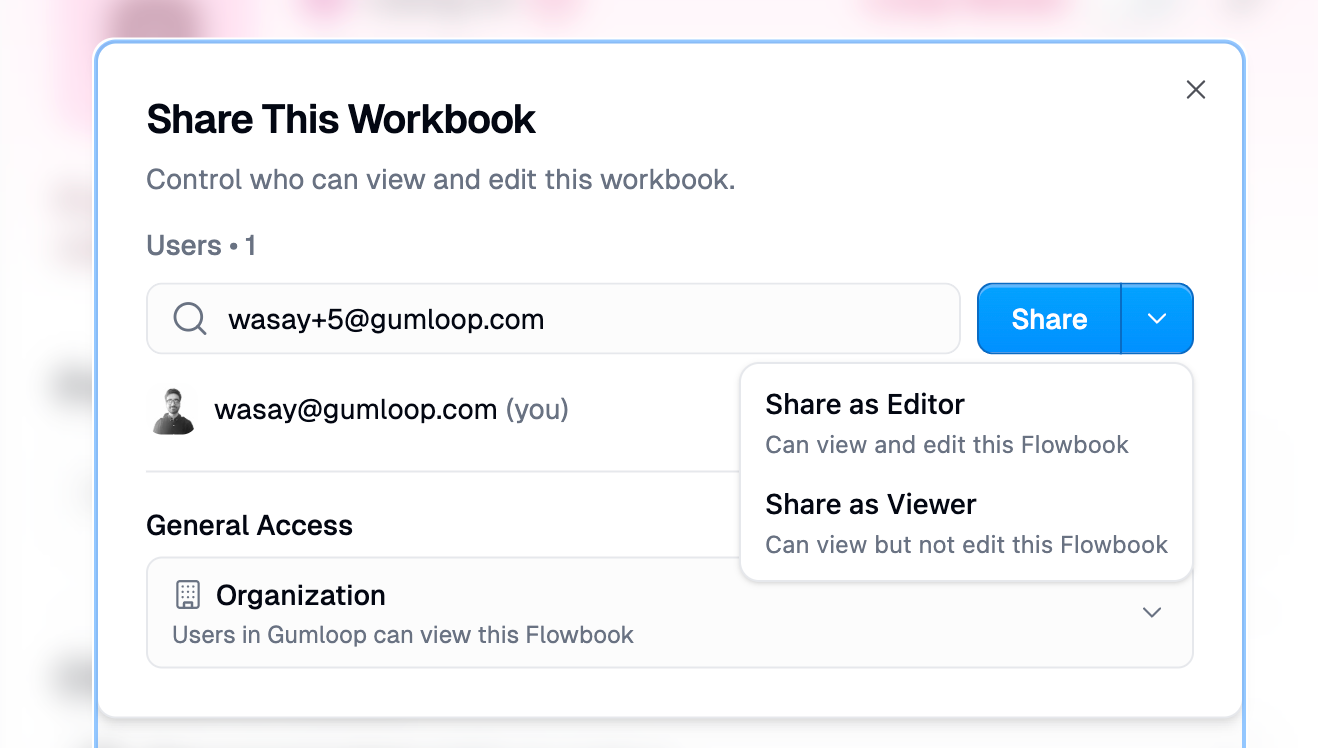
General Access
Control broader access with General Access settings:
You can also set the role for General Access (e.g., give your entire organization Viewer or Editor access).
For workbooks in a team, the minimum General Access level is Team. For personal workbooks, the default is Restricted. Learn more in the Share Permissions documentation.
Triggering Workbooks
Automate your workbooks to run on schedules or in response to events:1
Click 'Add Trigger'
Click the “Add Trigger” button in the top navigation bar
2
Choose trigger type
Select from time-based schedules, webhooks, or service-specific triggers (Gmail, Slack, etc.)
3
Configure and activate
Set your parameters and enable the trigger to start automated execution
Time-Based Triggers
Time-Based Triggers
Schedule your workbook to run hourly, daily, weekly, or on custom intervals. Great for regular reports or data syncs.
Webhook Triggers
Webhook Triggers
Start your workbook when external services send HTTP requests. Perfect for real-time integrations with other tools.
Service-Specific Triggers
Service-Specific Triggers
Trigger on events from integrated services like Gmail (new emails), Slack (new messages), Google Sheets (new rows), and more.
Triggers Documentation
Explore all trigger options and configuration details
Managing Workbooks
Moving Workbooks Between Teams
- Move to Team
- Duplicate Workbook
- Go to the Hub
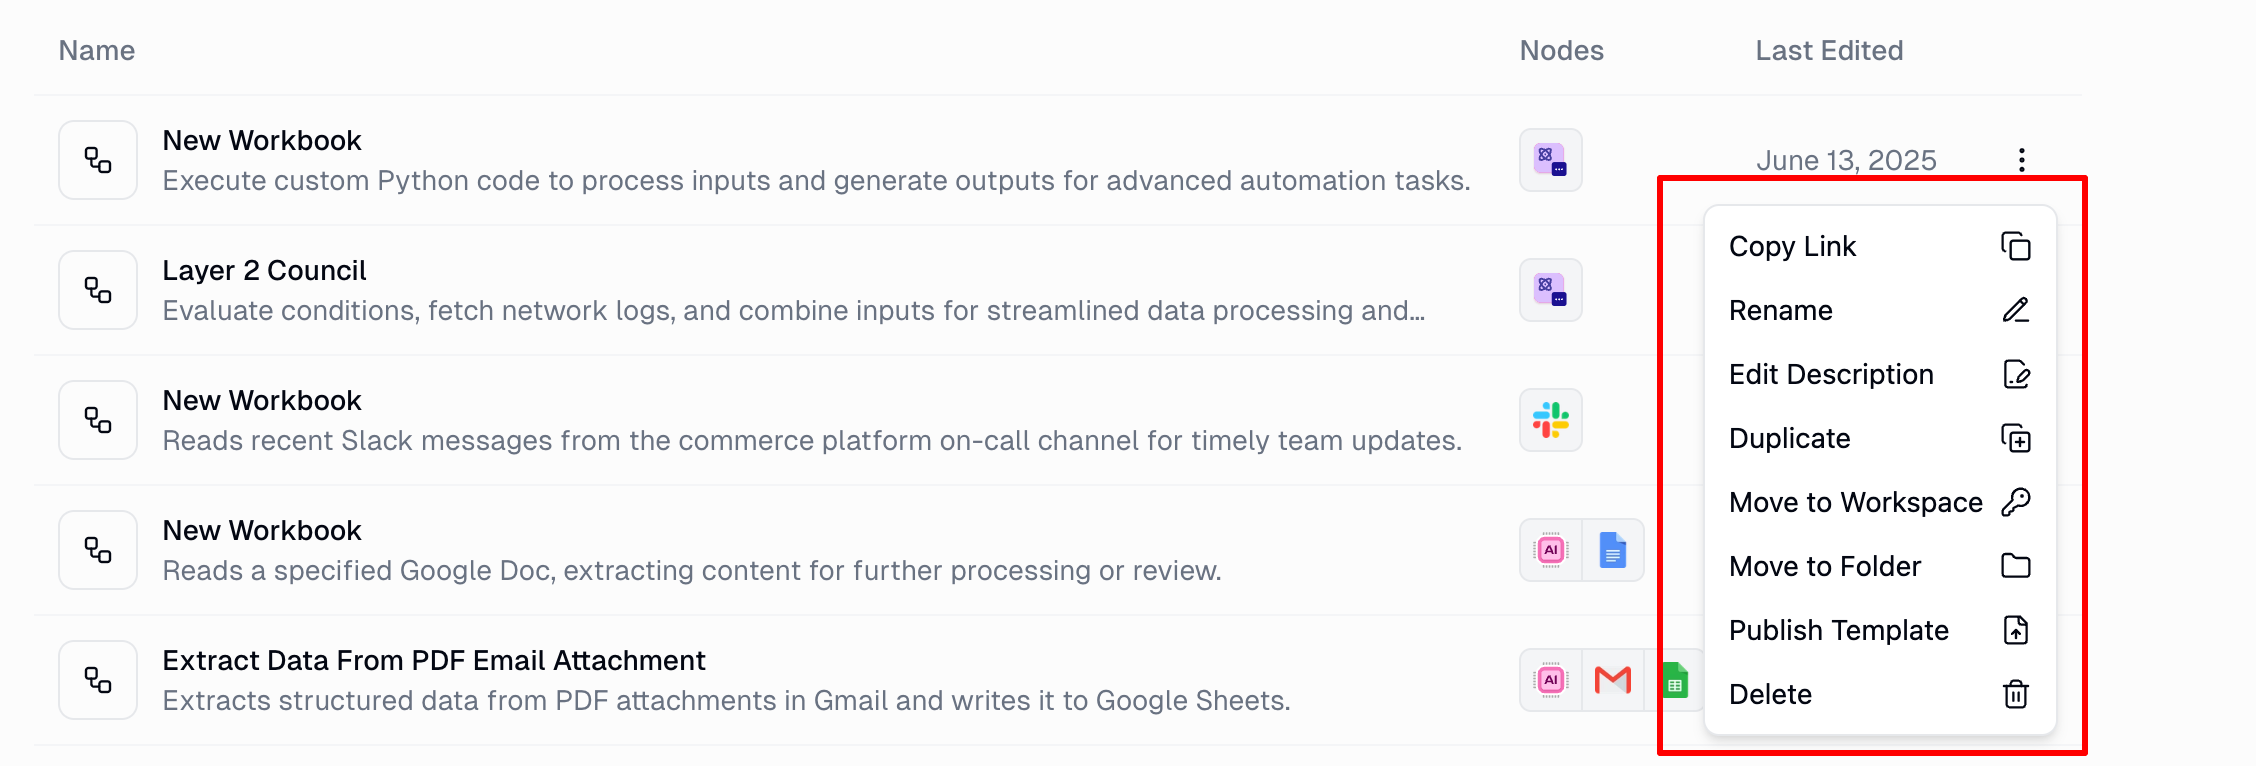
- Click the three dots (⋮) next to the workbook name
- Select “Move to Team”
- Choose the destination team
Keyboard Shortcuts
Speed up your workflow building with these essential shortcuts:Best Practices
Save Frequently
Save Frequently
Use
Cmd/Ctrl + S often as you build. Regular saving ensures run history is tracked and prevents data loss. Consider creating checkpoints before major changes.Use Descriptive Names
Use Descriptive Names
Name your workbooks, tabs, and even individual nodes clearly. Include version numbers or dates when relevant (e.g., “Customer Onboarding v2” or “Q4 2024 Reports”).
Break Into Subflows
Break Into Subflows
If a workflow has more than 10-15 nodes, consider splitting it into subflows. This improves maintainability, enables reusability, and makes testing easier.
Test Incrementally
Test Incrementally
Use the Resume button to test specific parts of your workflow without re-running everything. This saves time and credits during development.
Use Auto Format
Use Auto Format
After making significant changes, click the Auto Format button to clean up your canvas layout. A well-organized canvas is easier to understand and maintain.
Set Up Alerts
Set Up Alerts
For critical workflows, configure alerts to notify you via email if errors occur. This helps you catch issues quickly in production.
Related Documentation
Subflows
Learn how to create and use modular, reusable workflows
Triggers
Automate your workbooks with schedules and event-driven triggers
Run Log
Debug and monitor your workflow executions
Checkpoint History
Save and restore versions of your workflows
Workbooks provide the foundation for all your automation work in Gumloop. Master the canvas, leverage subflows effectively, and use the tools provided to build maintainable, production-ready workflows.