Organizations and Teams are available only on the Pro plan and above.
At a Glance
Think of Gumloop like Google Workspace:Organization
Your company’s account that manages billing, users, and security
Personal Space
Your private space for building and running agents and flows. Only you can access it.
Team
A shared space where multiple people can view, edit, and run flows & agents together
Personal vs Team
Most flows & agents should live in your personal space. Create teams only when collaboration is essential.- Personal Space
- Team
Every user gets a personal space automatically when they sign up. This is where most of your work should happen.
- Fast and flexible: Build without worrying about breaking others’ work
- Secure by default: Your agents, flows, and data stay private
- Production-ready: Run production agents and flows that you maintain
- Safe experimentation: Test ideas without affecting your team
Your personal space is private by default, but you can share any agent or flow with specific users by email. Choose their role: Editor (full access), Viewer (read-only), or for agents, Use Only (chat only). You can also set General Access to share with your entire organization. Learn more about share permissions.
Understanding Organizations
An Organization is your company’s top-level account. It’s the umbrella that holds everything together.Billing & Credits
Billing & Credits
All users share one credit pool. When anyone runs an agent or flow, whether in their personal space or a team, it deducts from the organization’s credits.There’s no separate billing per team or per user. One unified account.
User Management
User Management
- Anyone with your company email domain automatically joins your organization (if domain whitelisting is enabled)
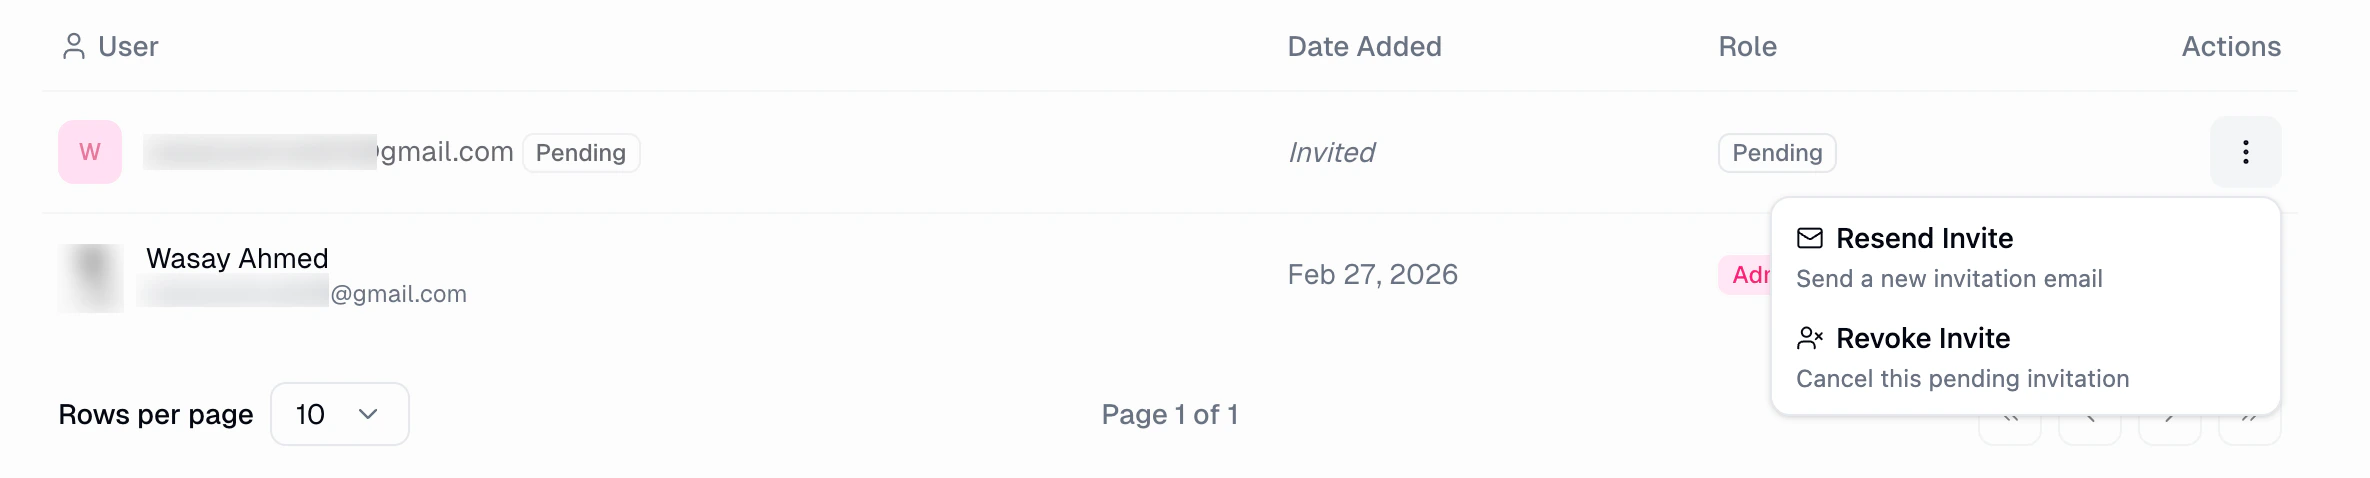
- Invite users by email — invited users appear with a “Pending” status until they accept
- Organization admins can resend or revoke pending invitations
- Add, remove, and manage user permissions across all teams
- Set which team new members join by default
Settings & Compliance
Settings & Compliance
- Control security settings across all teams
- Manage data retention policies
- Set organization-wide defaults
- Monitor usage across all teams
Creating a Team
There are two ways to create a team.Option 1: From the Sidebar
On the Home page, find the Teams section in the sidebar and click the + icon.
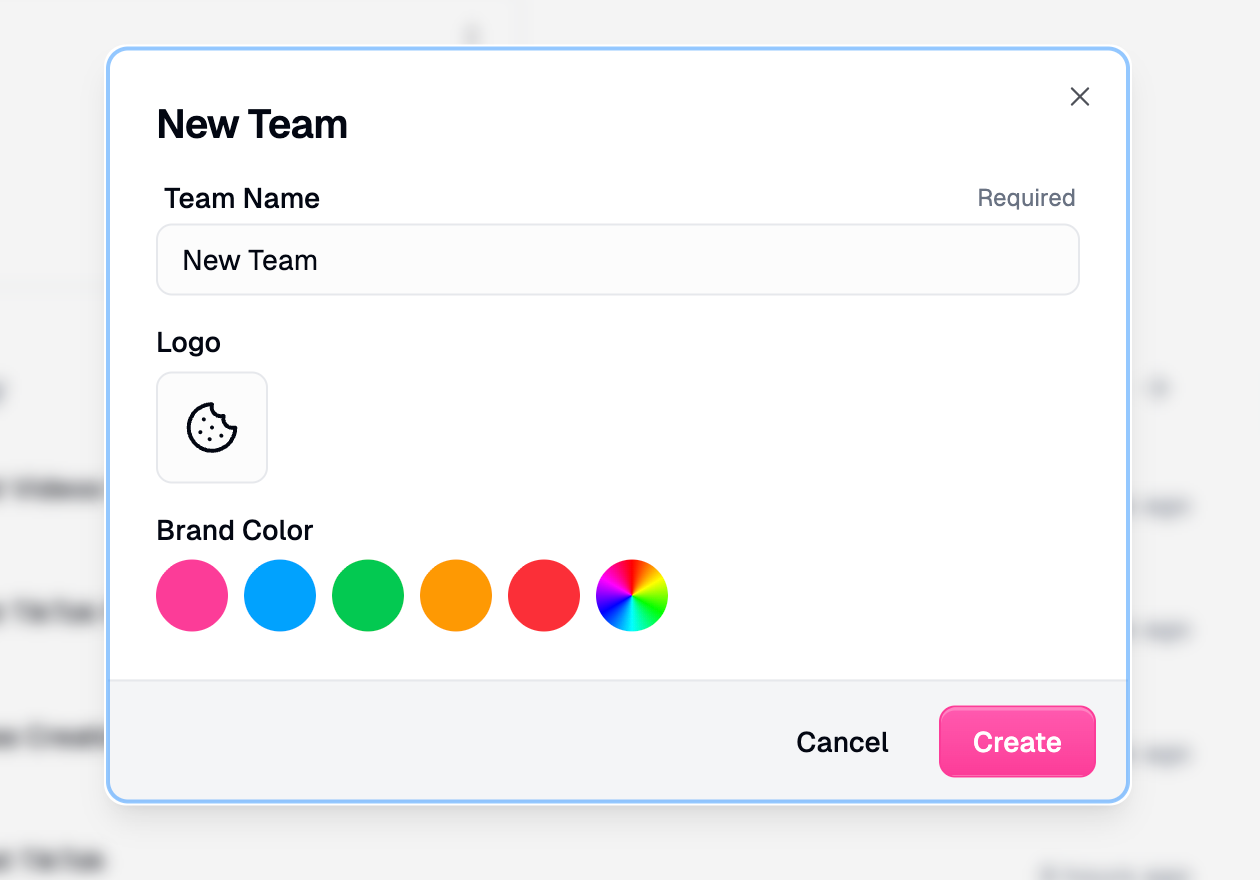
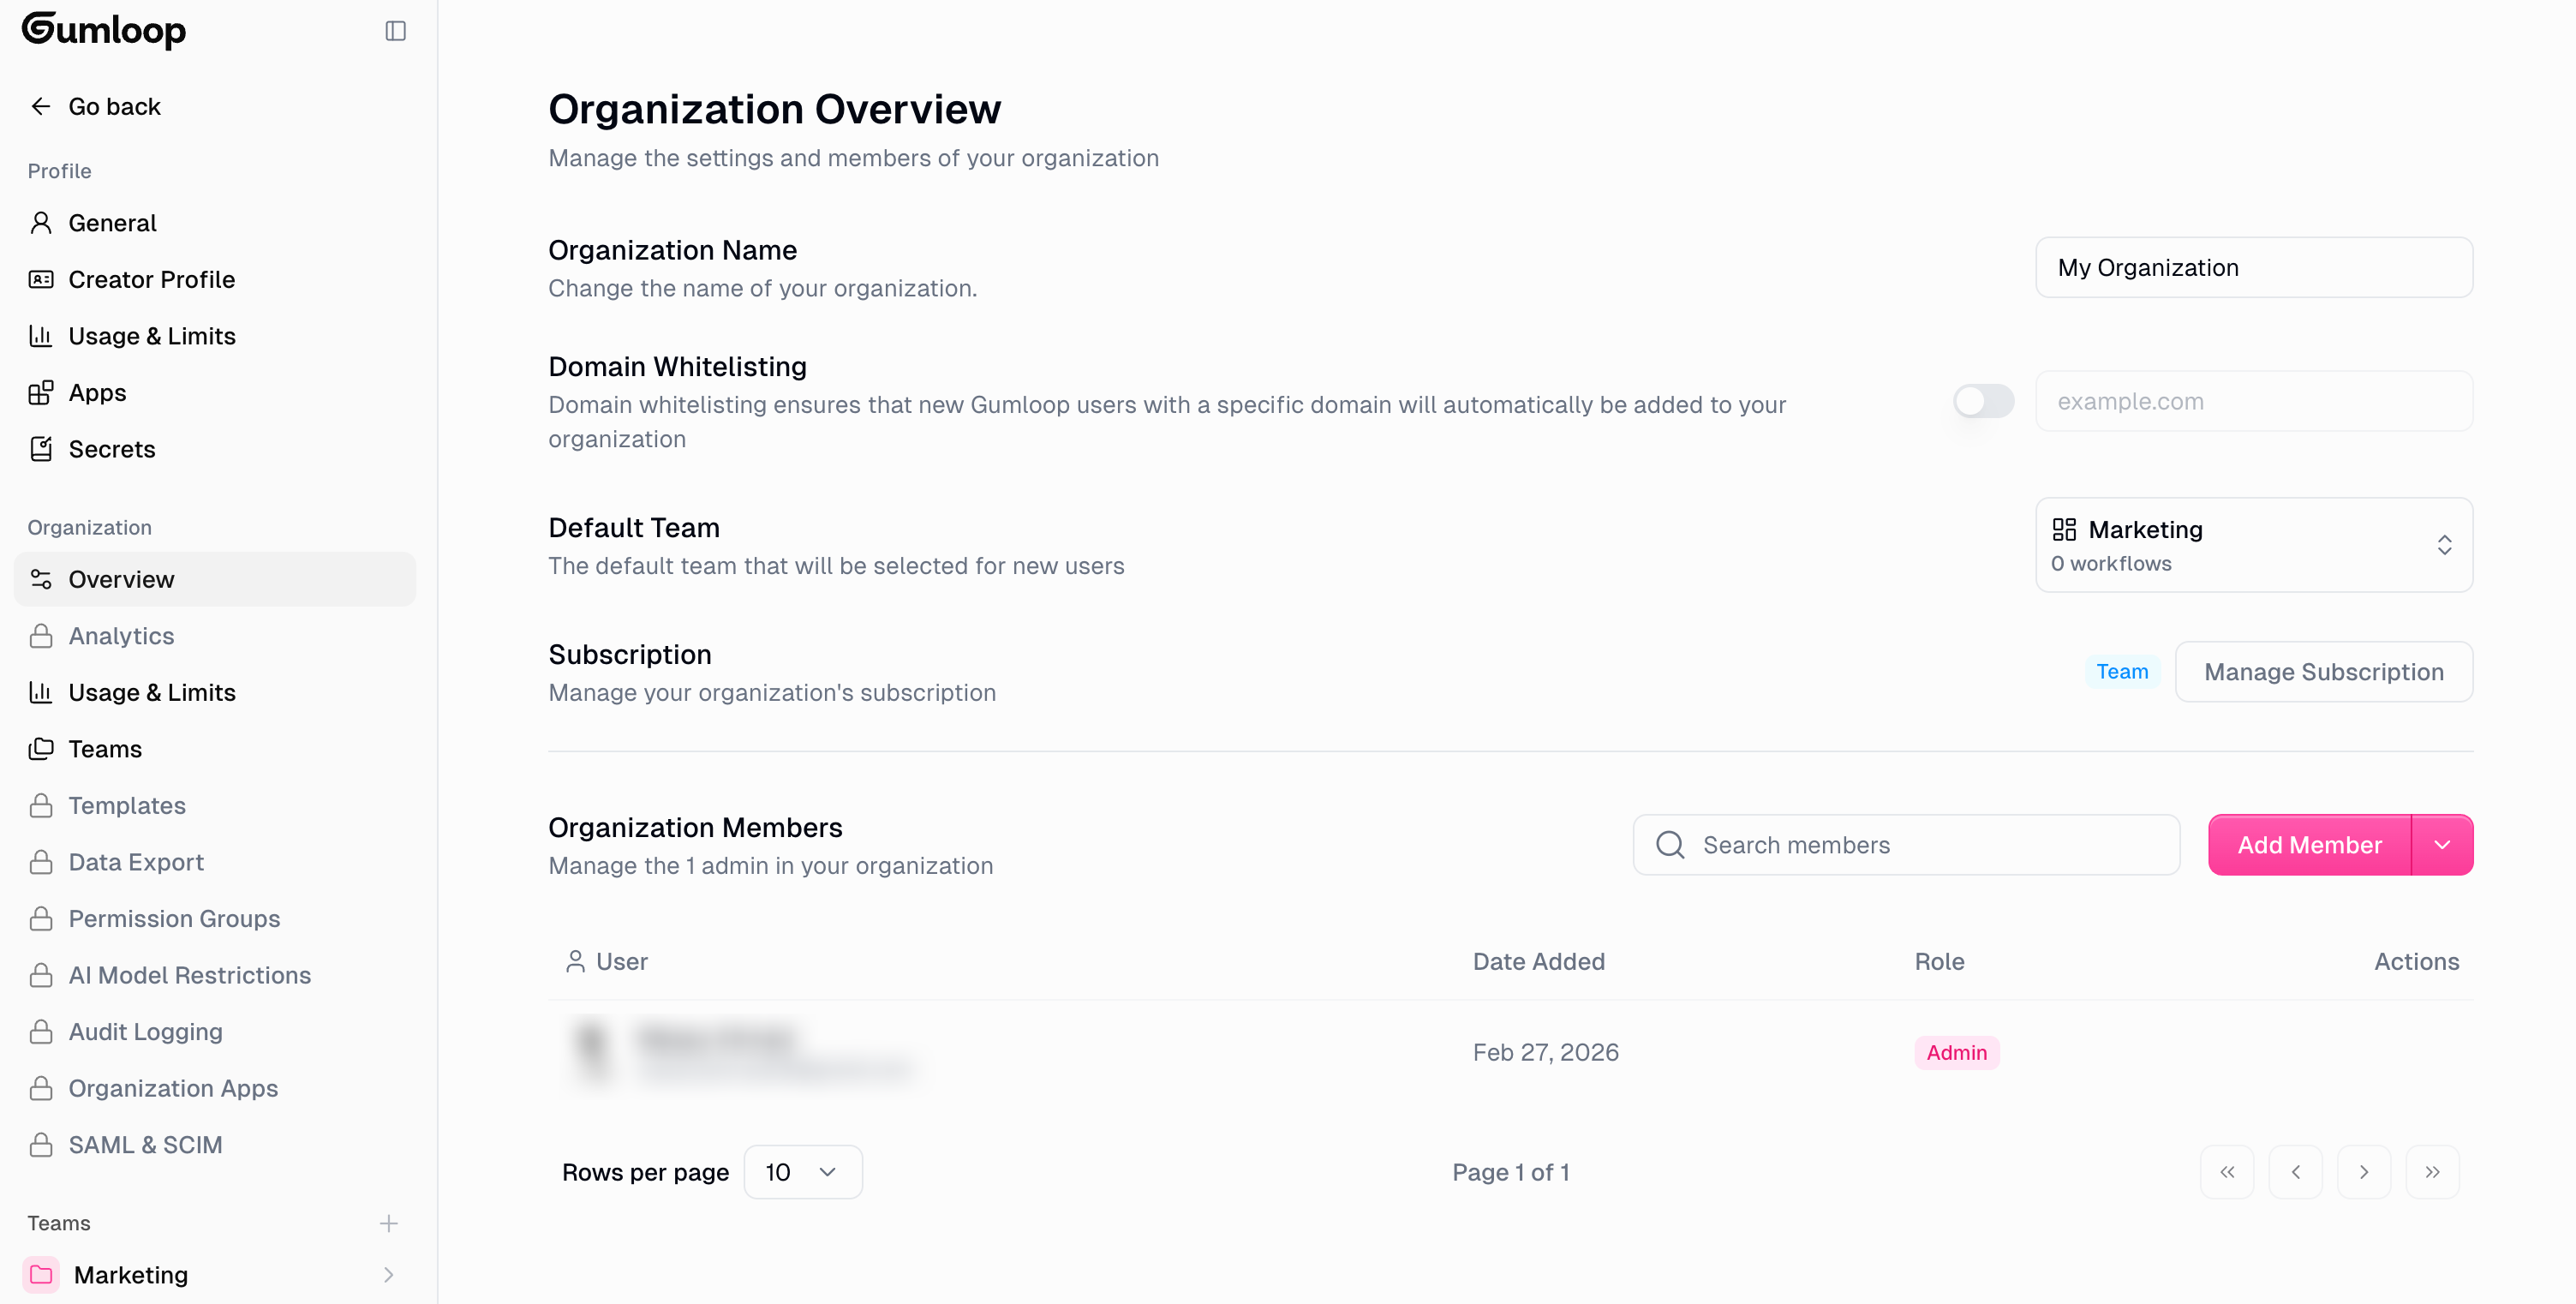
Option 2: From Organization Settings
Go to Settings → Teams and click the Create button.
Adding Team Members
Once you’ve created a team, there are three ways to add members.Option 1: Invite to Team from the Sidebar (Quickest)
On the Home page, right-click on your team in the sidebar and select Invite to Team. This opens the invite dialog directly, letting you add members without navigating to settings.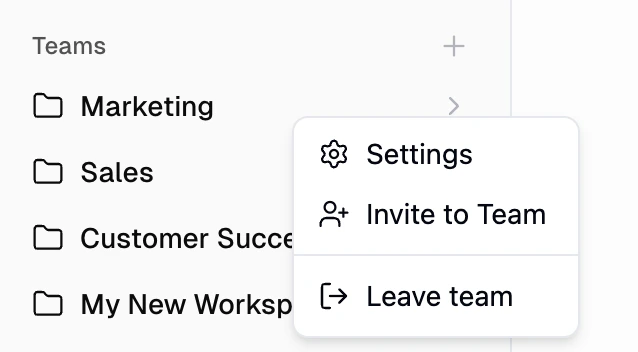
Option 2: From Team Settings
On the Home page, right-click on your team in the sidebar and select Settings.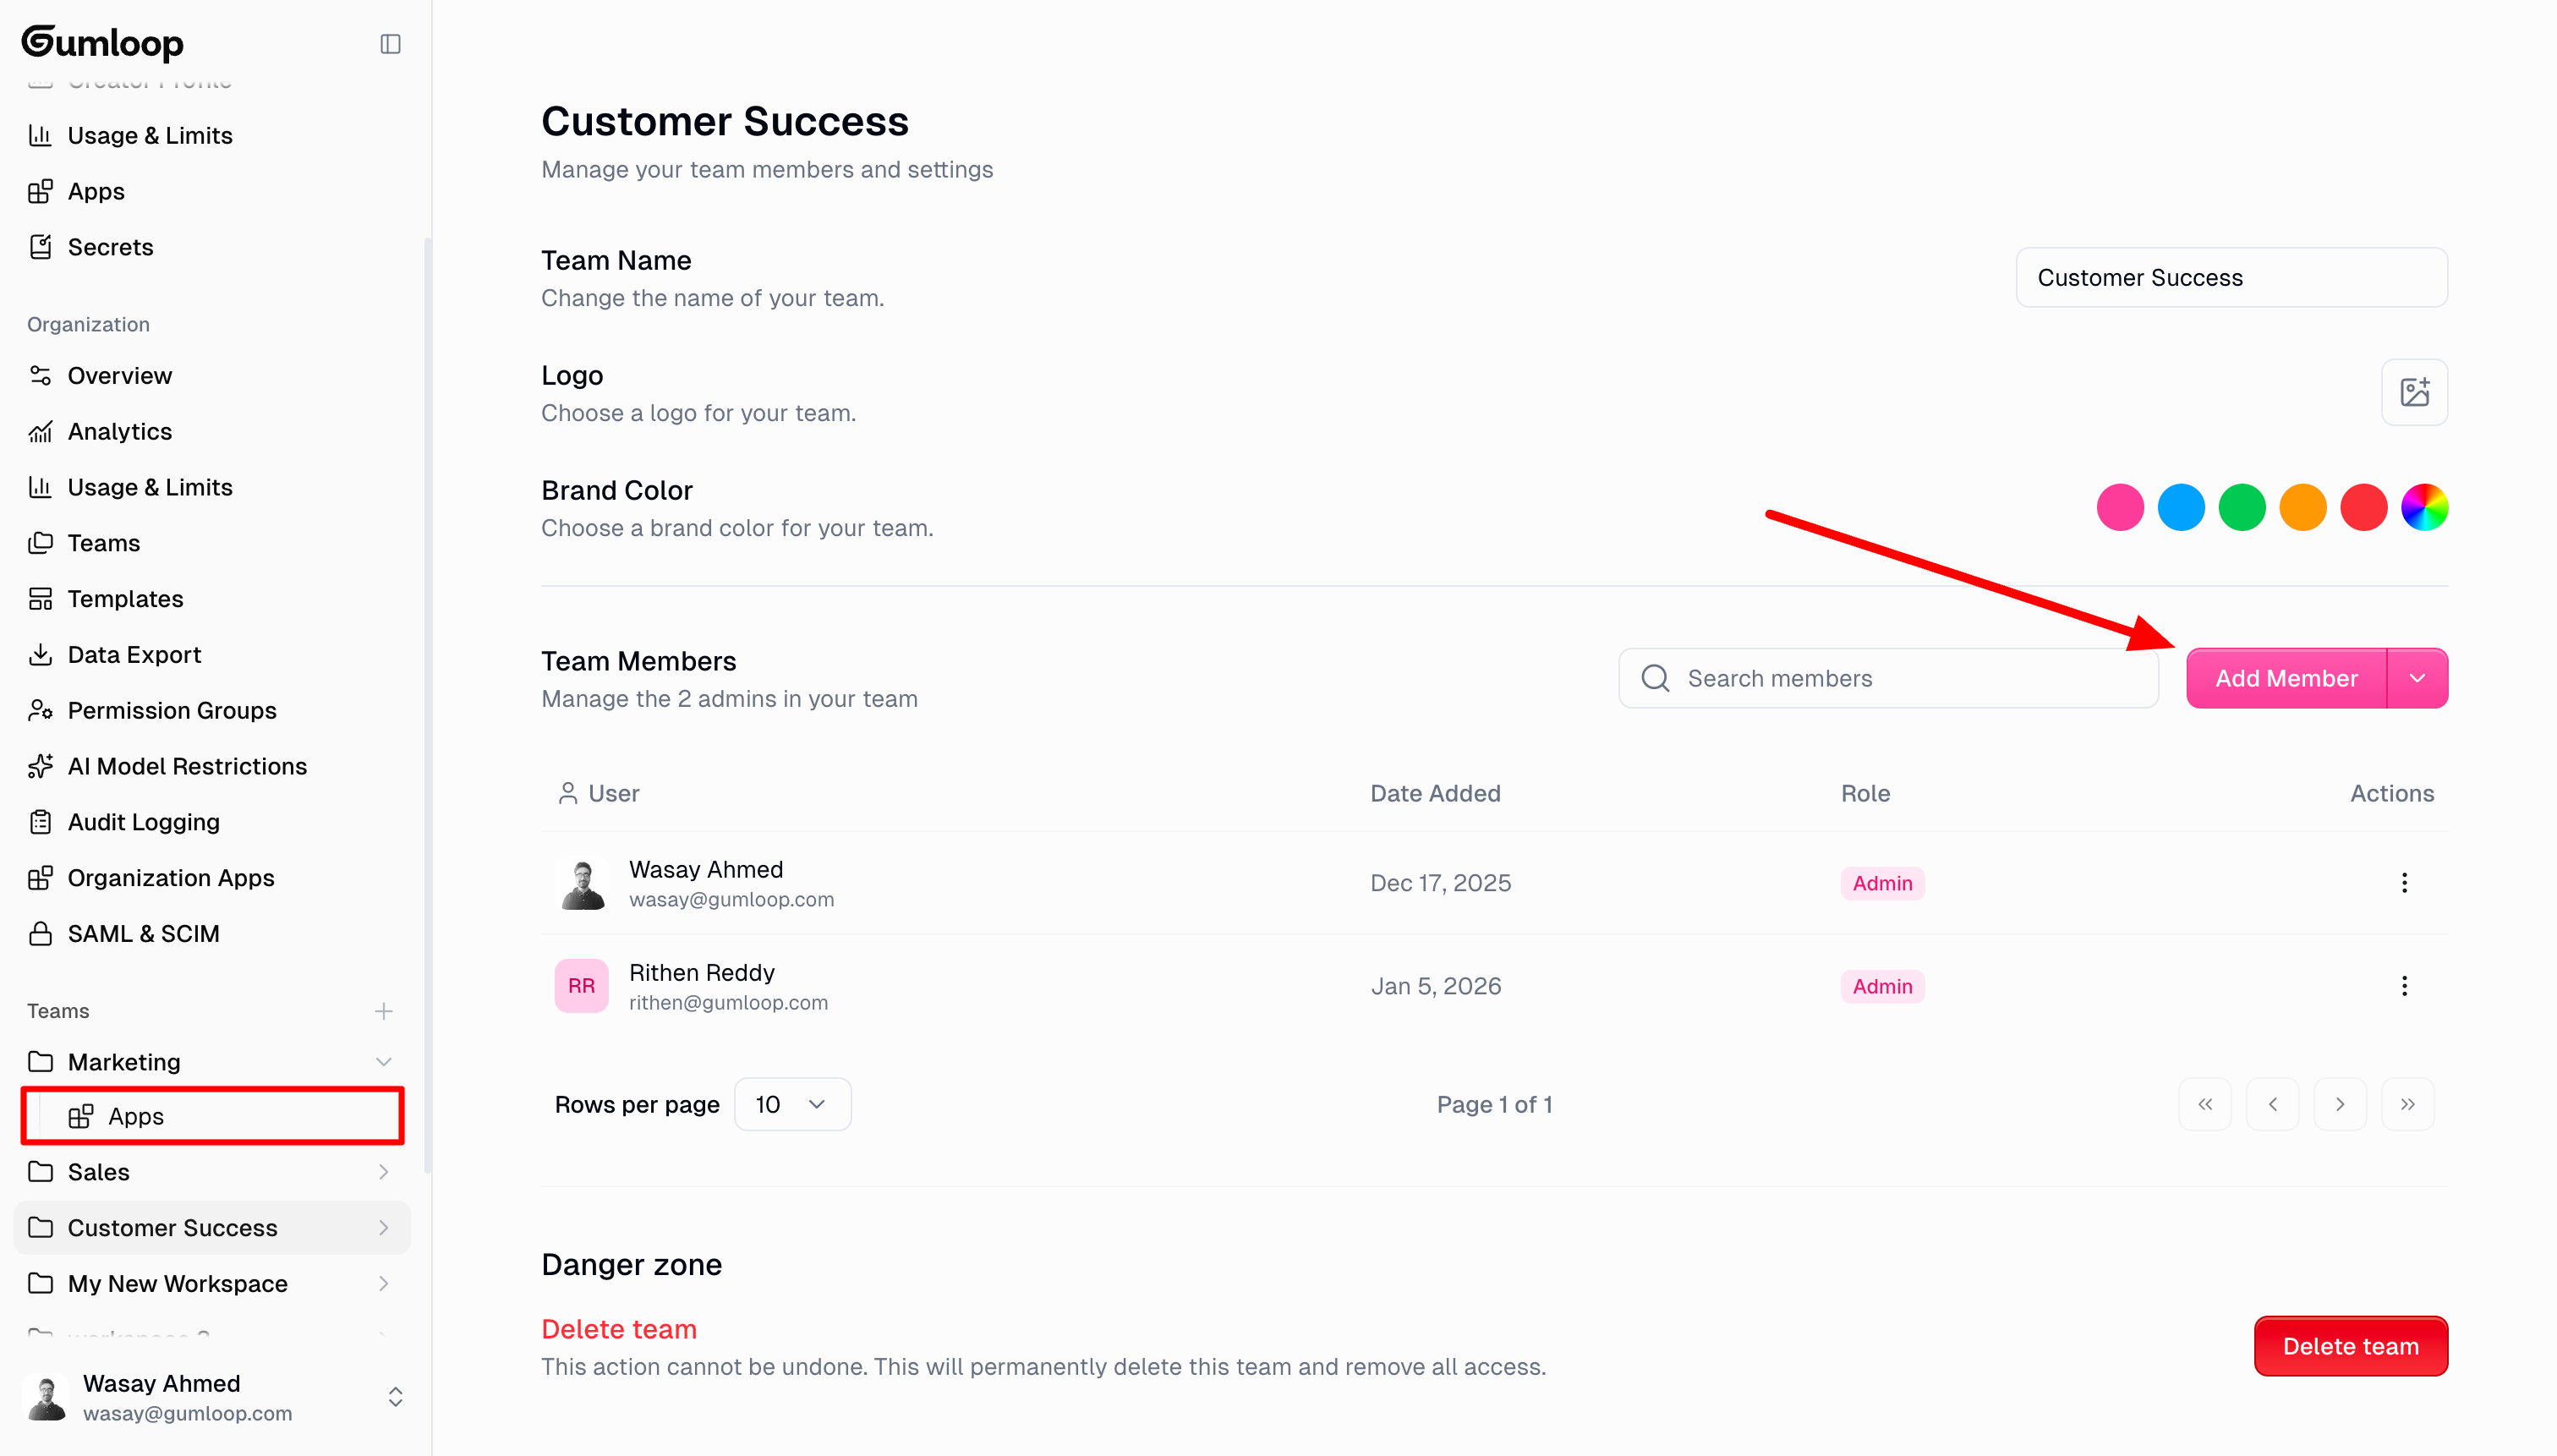
Option 3: From Organization Settings
- Go to Settings → Teams
- Click on the team you want to manage
- Click Add Member in the Team Members section
Connecting Team Apps
Team apps are shared integrations and API keys that all team members can use when running agents and flows. There are two ways to connect apps for a team.Option 1: Right-Click from the Sidebar
On the Home page, right-click on your team in the sidebar and select Settings.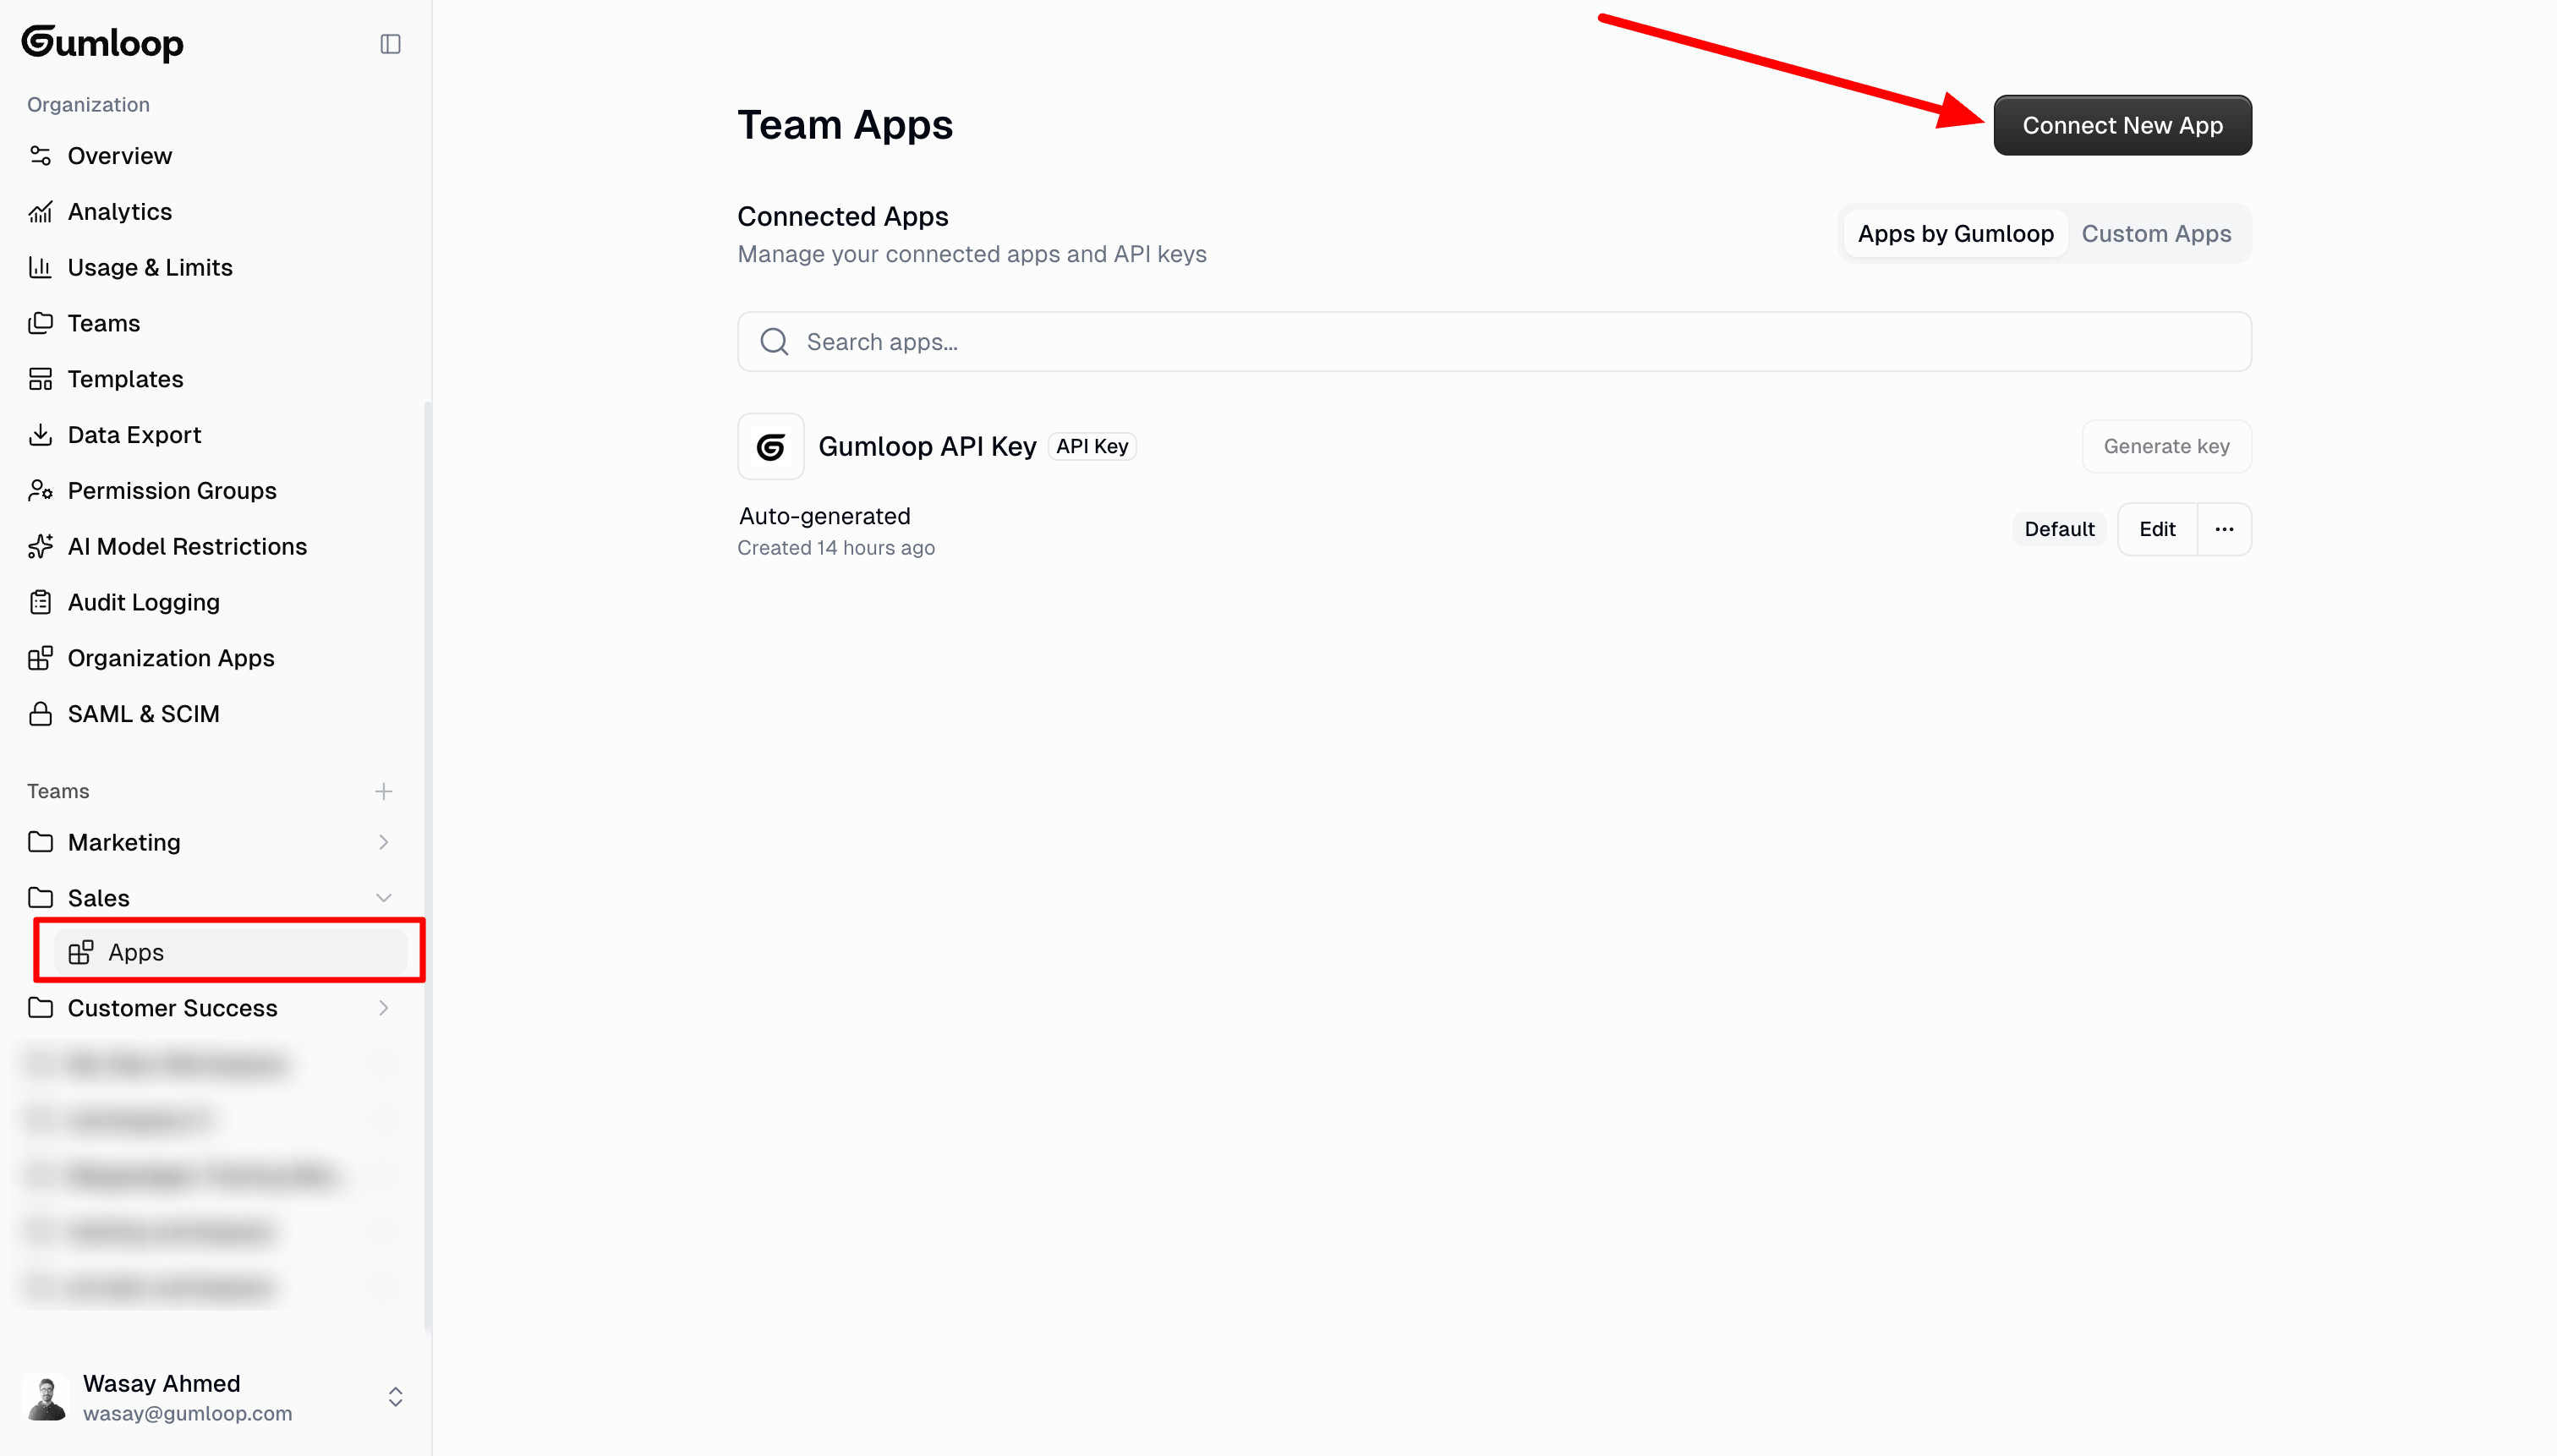
Option 2: From Organization Settings
- Go to Settings → Teams
- Click on the team, then select Connectors in the sidebar
- Click Connect New App
Moving Agents & Flows Between Teams
You can move agents and flows between your personal space and teams:- Go to the Home page
- Click the three dots (⋮) next to the agent or flow
- Select Move to Team
- Choose the destination team
Setting a Default Team
Organization admins can choose which team new members automatically join from the Teams settings page.
- They automatically join your organization
- They get their personal space
- They get access to the default team
- They can request access to other teams
Common Questions
Where should I build my agents and flows?
Where should I build my agents and flows?
Always start in your personal space. Move to a team only if multiple people need to actively edit the same agent or flow.Keep in personal space if:
- You’re the primary maintainer
- It’s still in development or testing
- Others just need to run it (share via interface)
- Multiple people actively edit the same agent or flow
- The team collectively maintains it
- You need shared team apps
- Team members need to cover for each other
Who pays for agents and flows in different teams?
Who pays for agents and flows in different teams?
Your organization pays for everything. Whether an agent or flow runs from your personal space or a team, it uses your organization’s credit pool. Teams only affect who can access and edit agents and flows, not billing.
Related Documentation
Apps & Credentials
Set up personal and team apps
Credit Usage & Billing
How credits work across teams
User Roles
Organization and team permissions