Why Use Subflows?
Cleanliness
Break complex logic into manageable pieces. Like functions in programming, subflows make large automations easier to
maintain and debug.
Looping
Perfect a single task once, then loop it across thousands of items. Build and test on one instance, then scale
effortlessly.
Nested Processing
Handle multi-level data structures with ease. Process emails containing orders, each with multiple items, using
nested subflows.
Example: Web Scraping at Scale
You want to scrape contact information from thousands of company websites. With subflows, you build one workflow that perfectly handles a single website, then loop it across your entire list. This approach makes testing simple and scaling automatic.Example: Nested Data Processing
Process an email inbox containing orders, where each order has multiple items. Using three nested subflows, you can:- First workflow: Process the entire inbox and extract orders
- Second workflow (looped): Process each individual order
- Third workflow (looped): Process each item within an order
Working with Subflows
Adding Subflows to Your Canvas
In the workflow builder, locate the Subflow Library in the node menu. All of your existing workflows appear here and can be dragged onto the canvas like any standard node.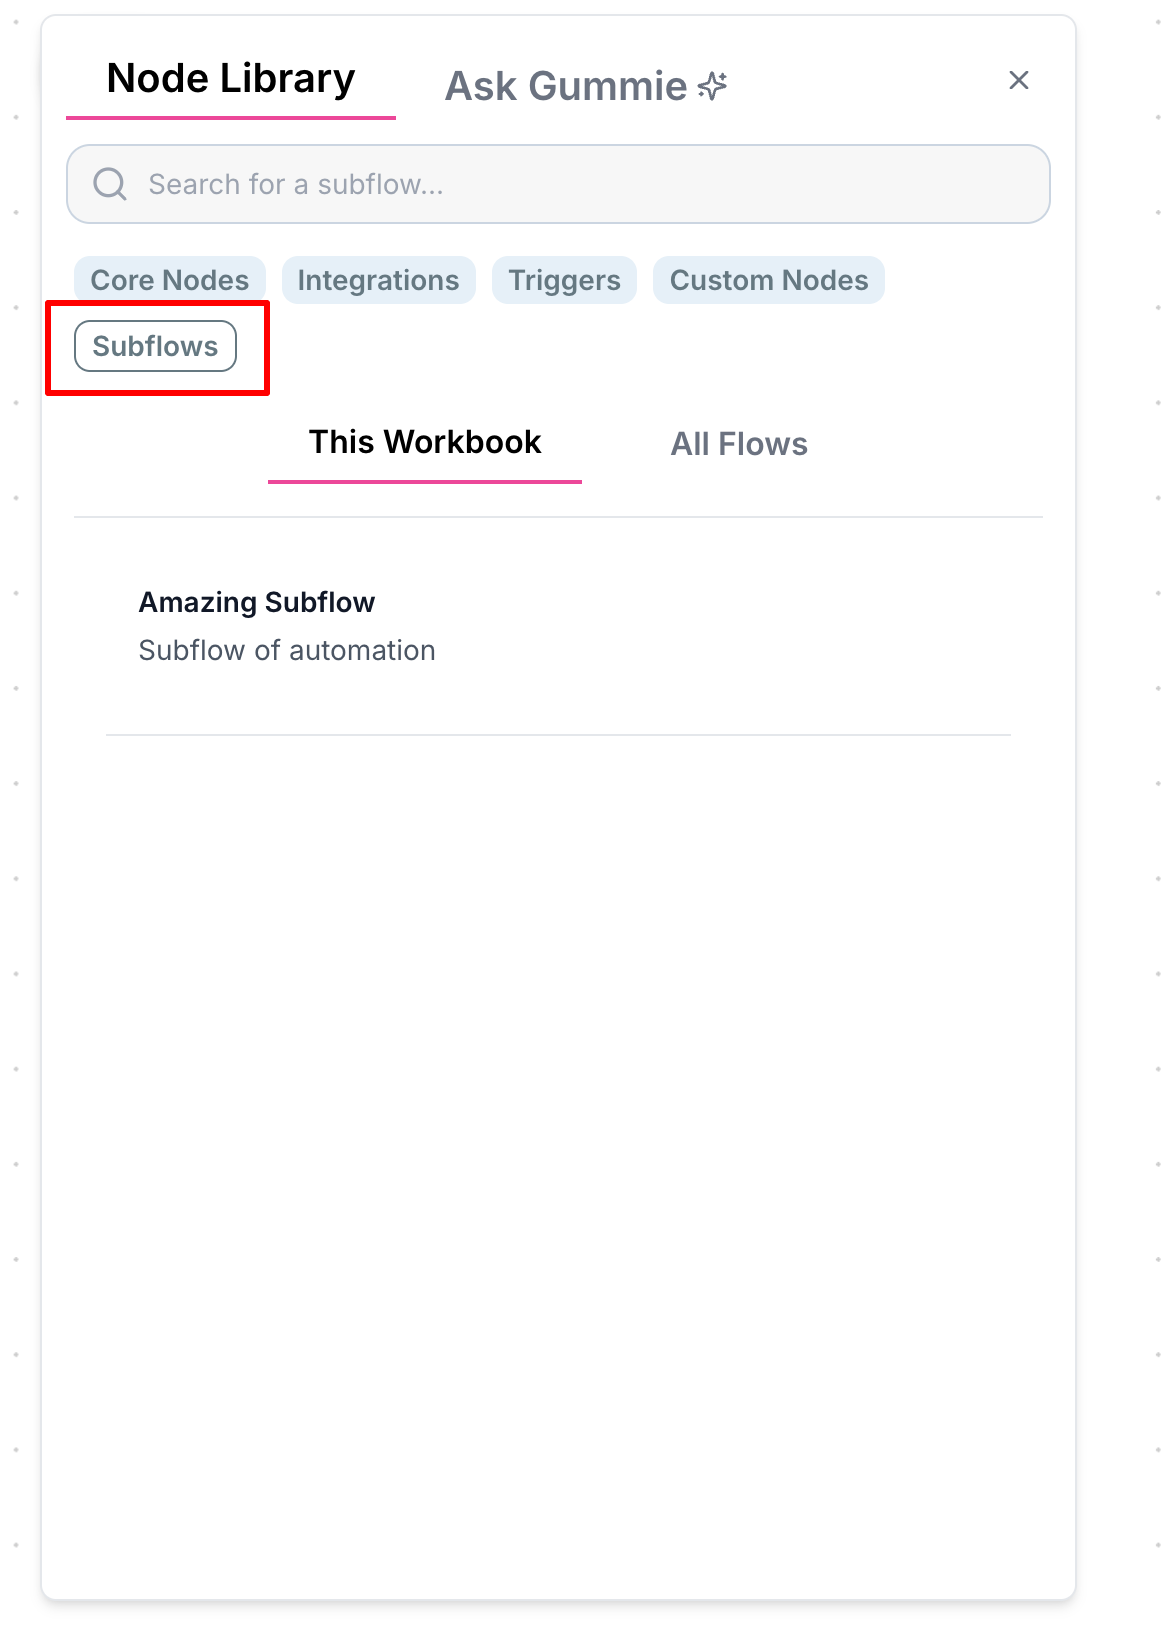
Configuring Inputs and Outputs
Subflows need defined inputs and outputs to be useful in other workflows. Here’s how to set them up:Step 1: Initial Subflow Without Inputs
Consider this example workflow that scrapes a website, extracts the company name, summarizes it, and categorizes the business:

Step 2: Adding Input Nodes
Return to the subflow and add an Input node for each parameter you want to accept. For this example, we need one input for the website URL:
You can name your input nodes for clarity, though this is optional. The name will appear as the connection label in
the parent workflow.

Step 3: Adding Output Nodes
Add Output nodes for each value you want to return. In this example, we want to output the summary, company name, and category separately:
