Gumloop offers two types of automations: Workflows (visual, node-based automations) and Agents (AI-powered reasoning engines). Each has its own template creation process.
Quick Navigation
Submit a Template
Create and publish your first template
Edit Templates
Update templates after publication
Delist Templates
Remove templates from the marketplace
Creating and Submitting Templates
The process for creating templates differs between Workflows and Agents. Choose the type that matches your automation:- Workflow Templates
- Agent Templates
Submitting a Workflow Template
Turn any workflow into a template with setup instructions that guide new users through configuration.1
Navigate to Your Workflow & Click on the Share Menu
Open the workflow you want to share as a template.Click the Share button in the top-right corner of your workflow.
2
Create Template with Set-up Instructions
Select Create Template with Set-up Instructions from the options.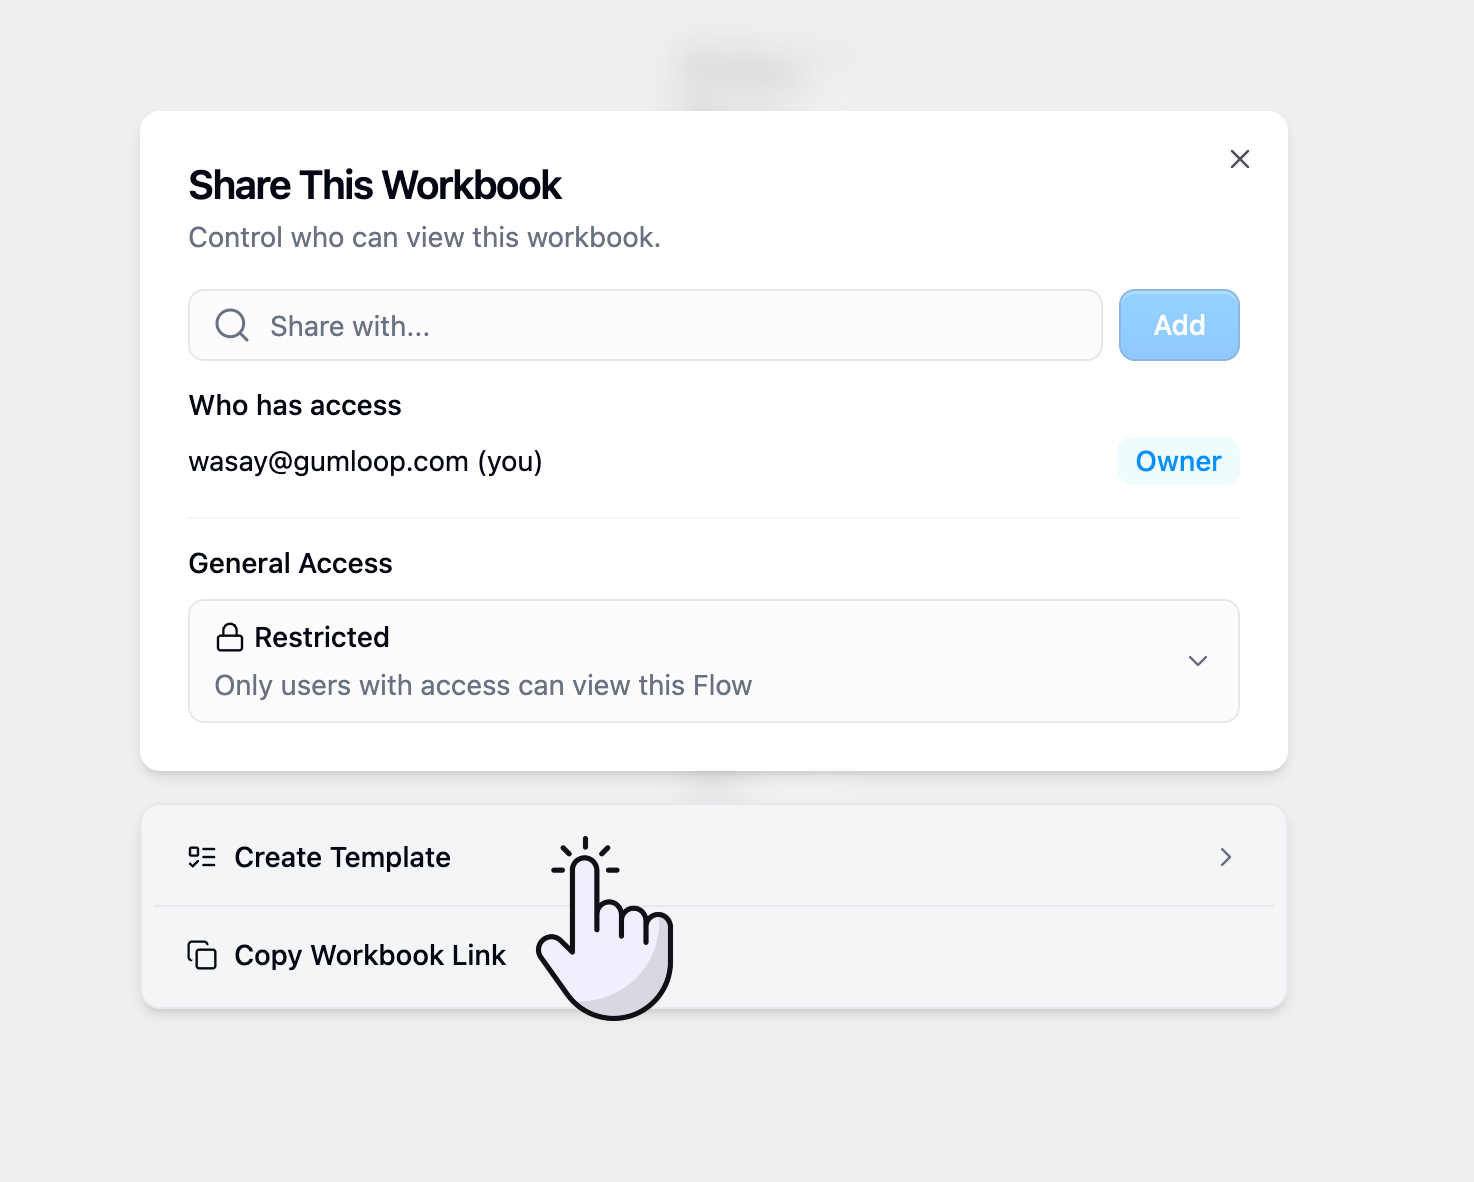
3
Review AI-Generated Setup
Gumloop automatically generates initial template information including:
- Template title
- Description
- Setup checklist with basic steps
- Required credentials detection
4
Configure Template Details
Customize your template information to help users understand and implement your workflow.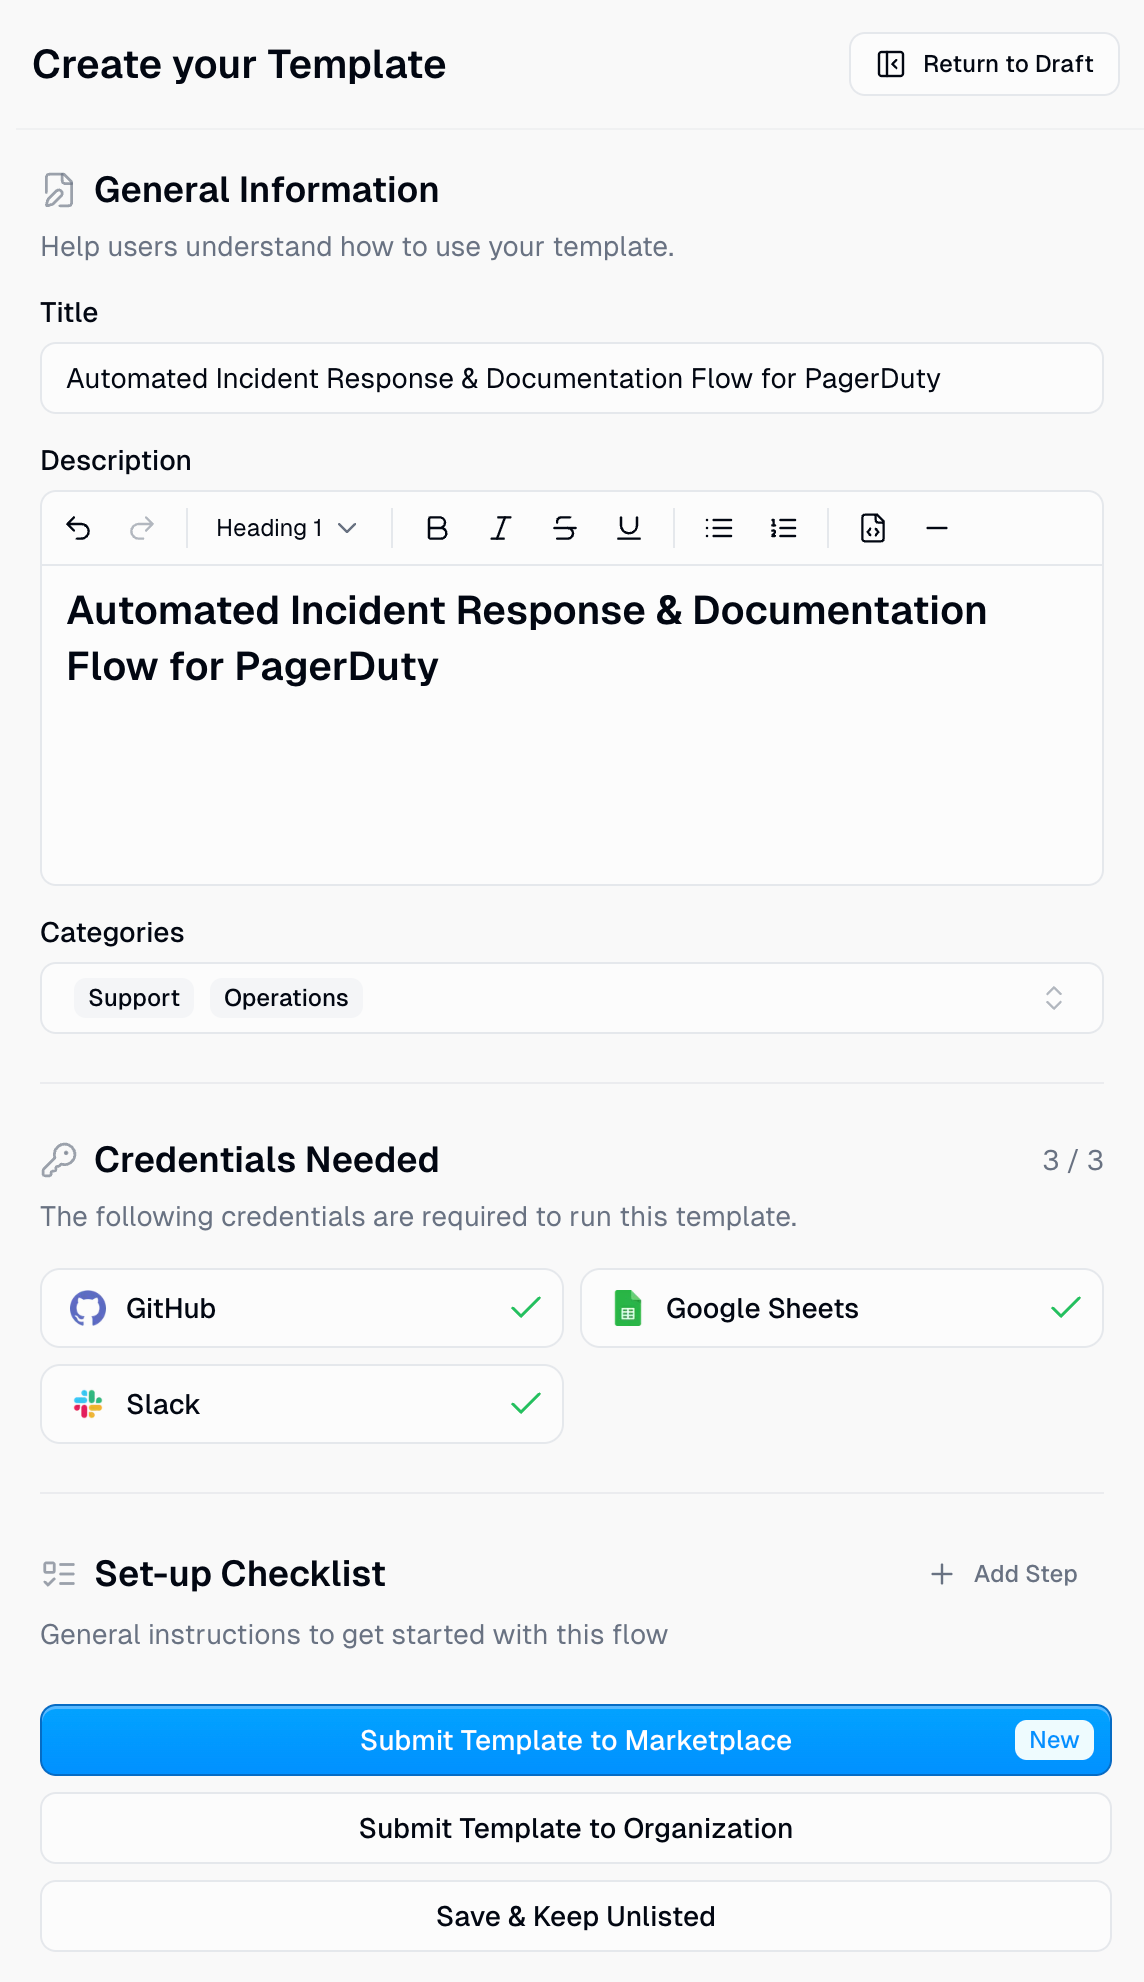
General Information
General Information
TitleCreate a clear, action-oriented title that describes what the template does. Include key integrations or tools used.Example: “Executive Escalations Email and Slack Automation”DescriptionProvide a detailed overview using markdown formatting. Break your description into sections:
- Who is this for?
- What problem does it solve?
- What does the workflow do?
- How can users customize it?
- Any requirements or prerequisites
Credentials Needed
Credentials Needed
Review the automatically detected credentials required to run your template. These are identified based on the integrations used in your workflow.Users will be prompted to connect these services before using your template.
Set-up Checklist
Set-up Checklist
Create a step-by-step guide that walks users through configuring your template.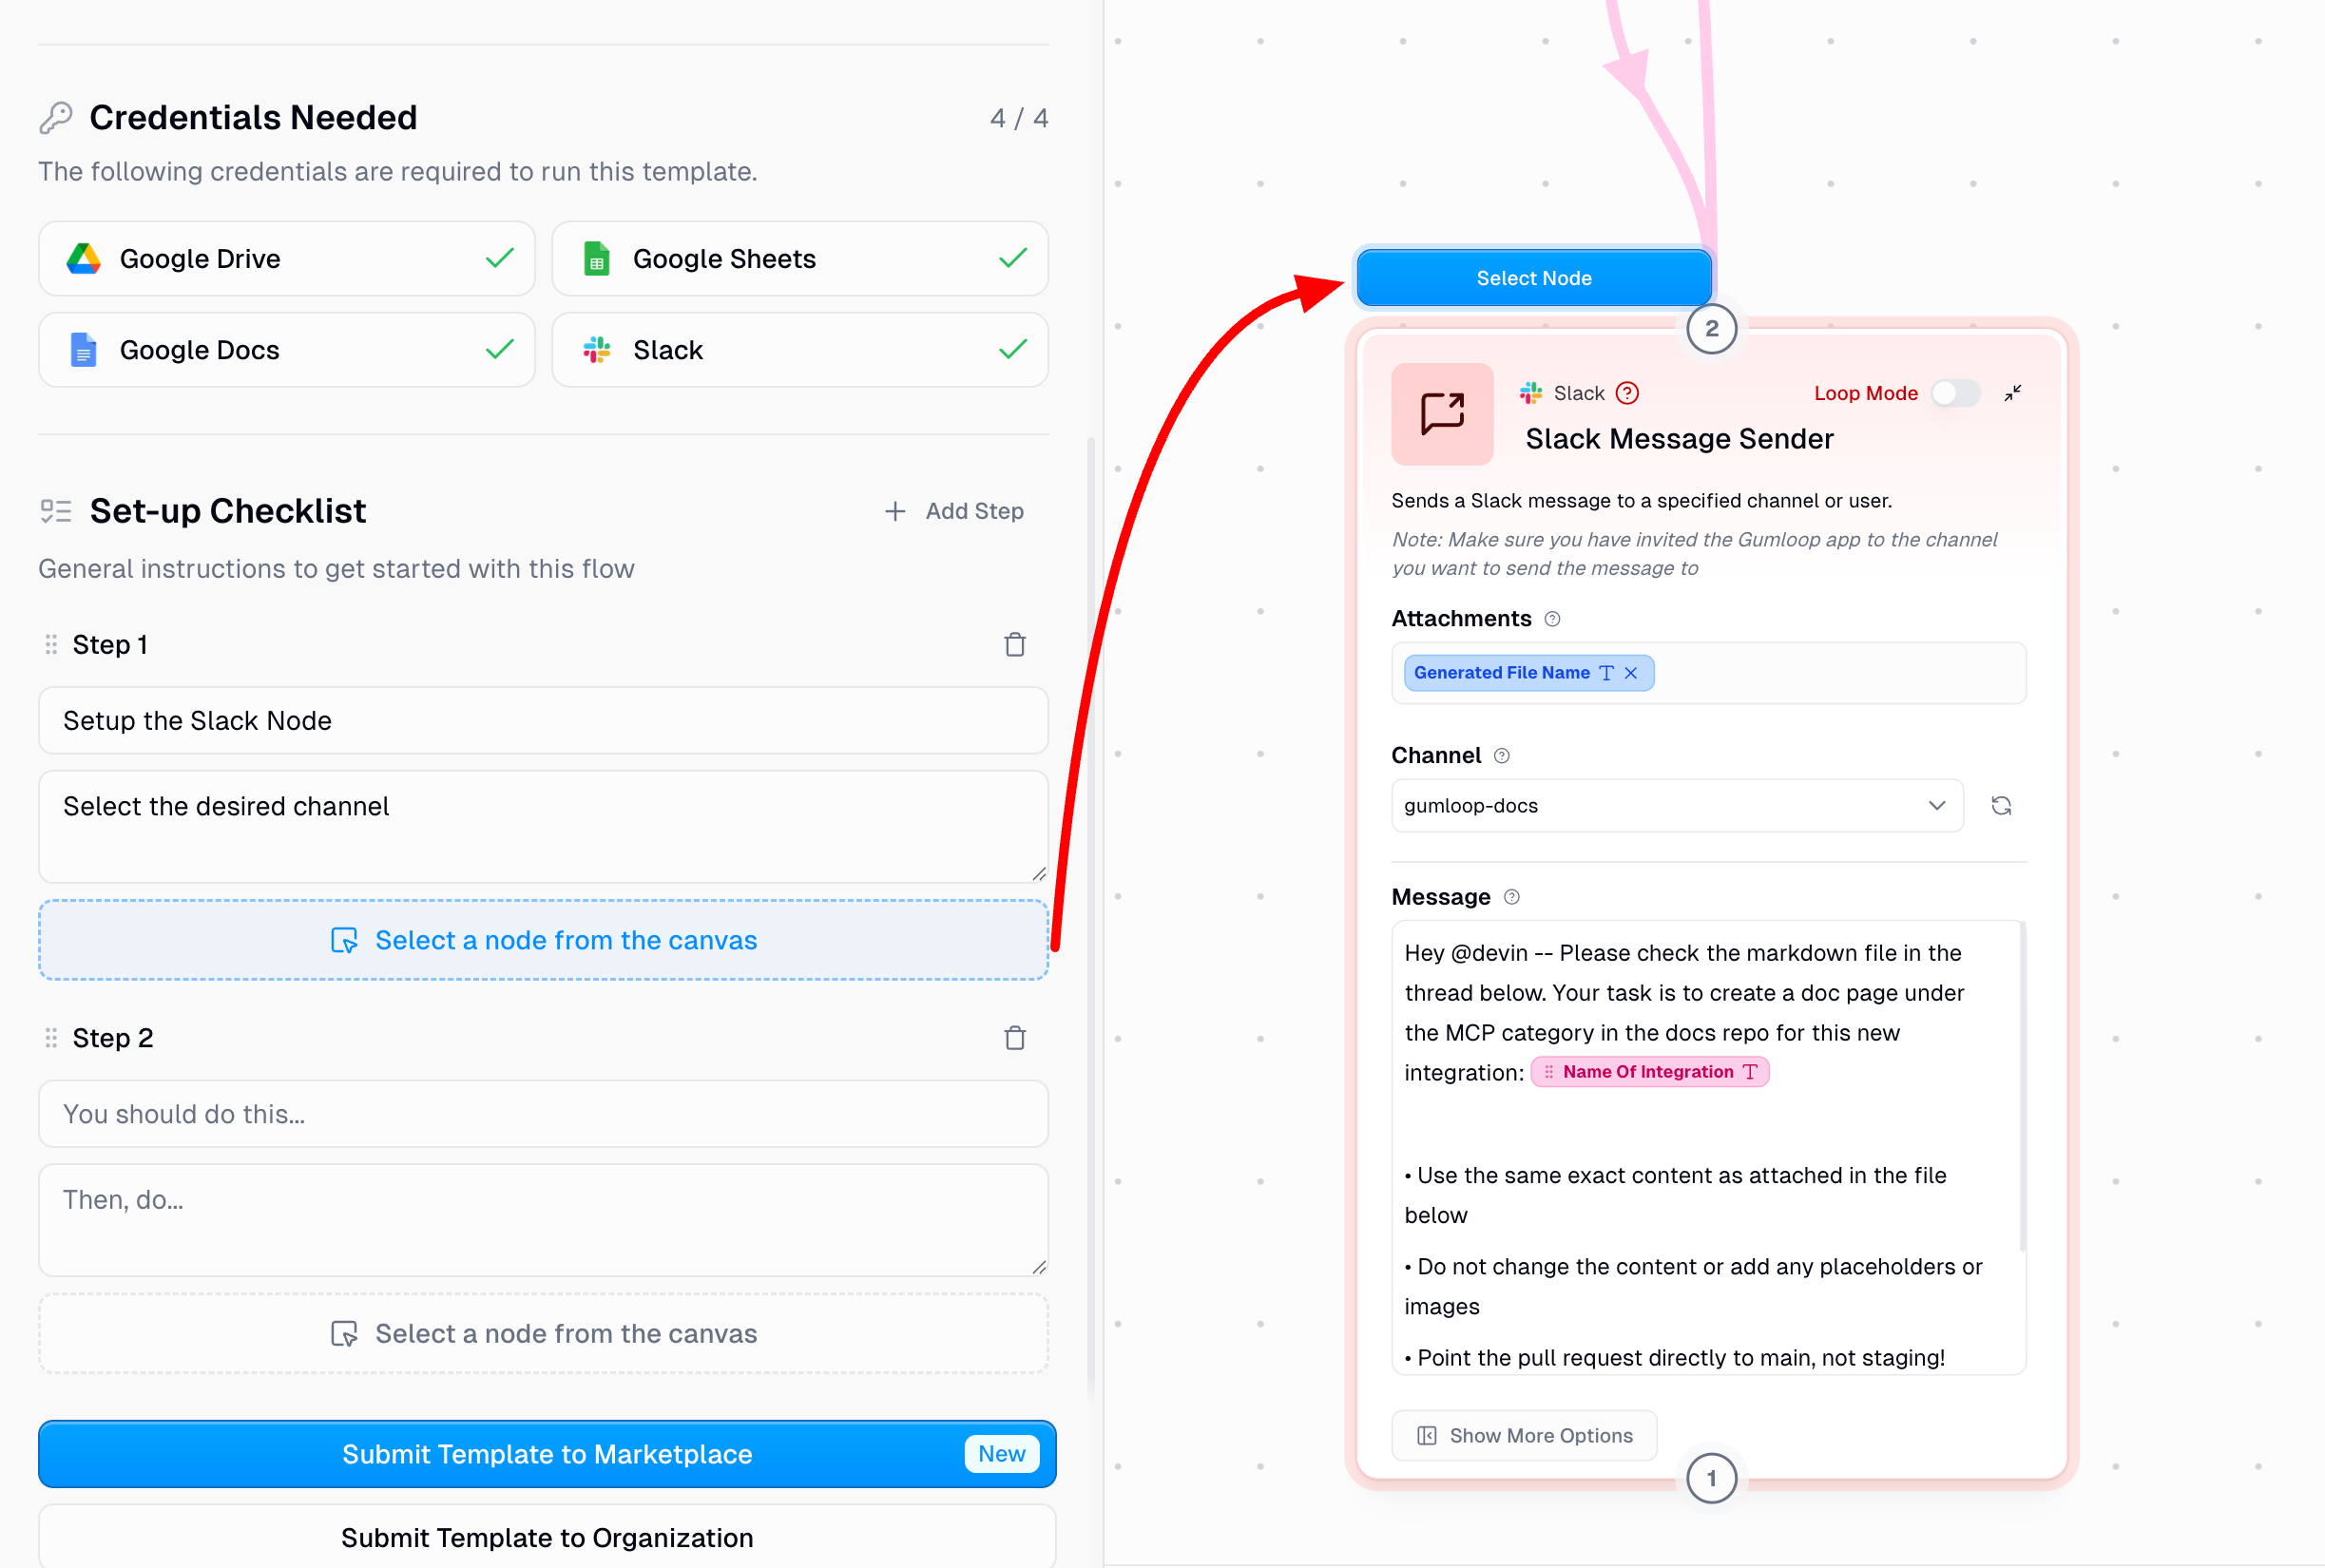
- Add a Clear Title: Describe what the user needs to do (e.g., “Configure Email Trigger Node”)
- Provide Detailed Instructions: Explain exactly what to configure and why. Don’t assume users are familiar with your specific setup.
- Link to Relevant Nodes: Click Select a node from the canvas to highlight the specific node users should configure for this step. This helps users navigate complex workflows.
- Include External Resources: If users need to set up external tools (like copying a Google Sheet template), provide direct links.
5
Submit for Review
Once you’ve configured all details, submit your template for marketplace review. All submissions go through a review process to ensure quality and security standards are met.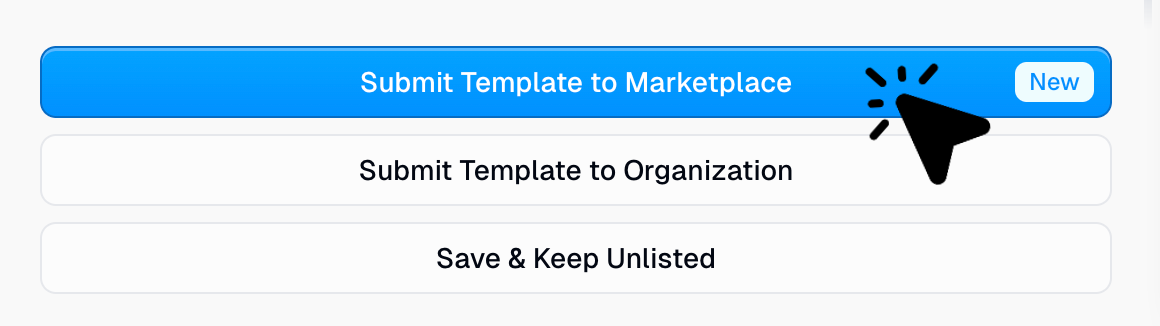
Review the submission requirements below before submitting to ensure your template meets all guidelines.
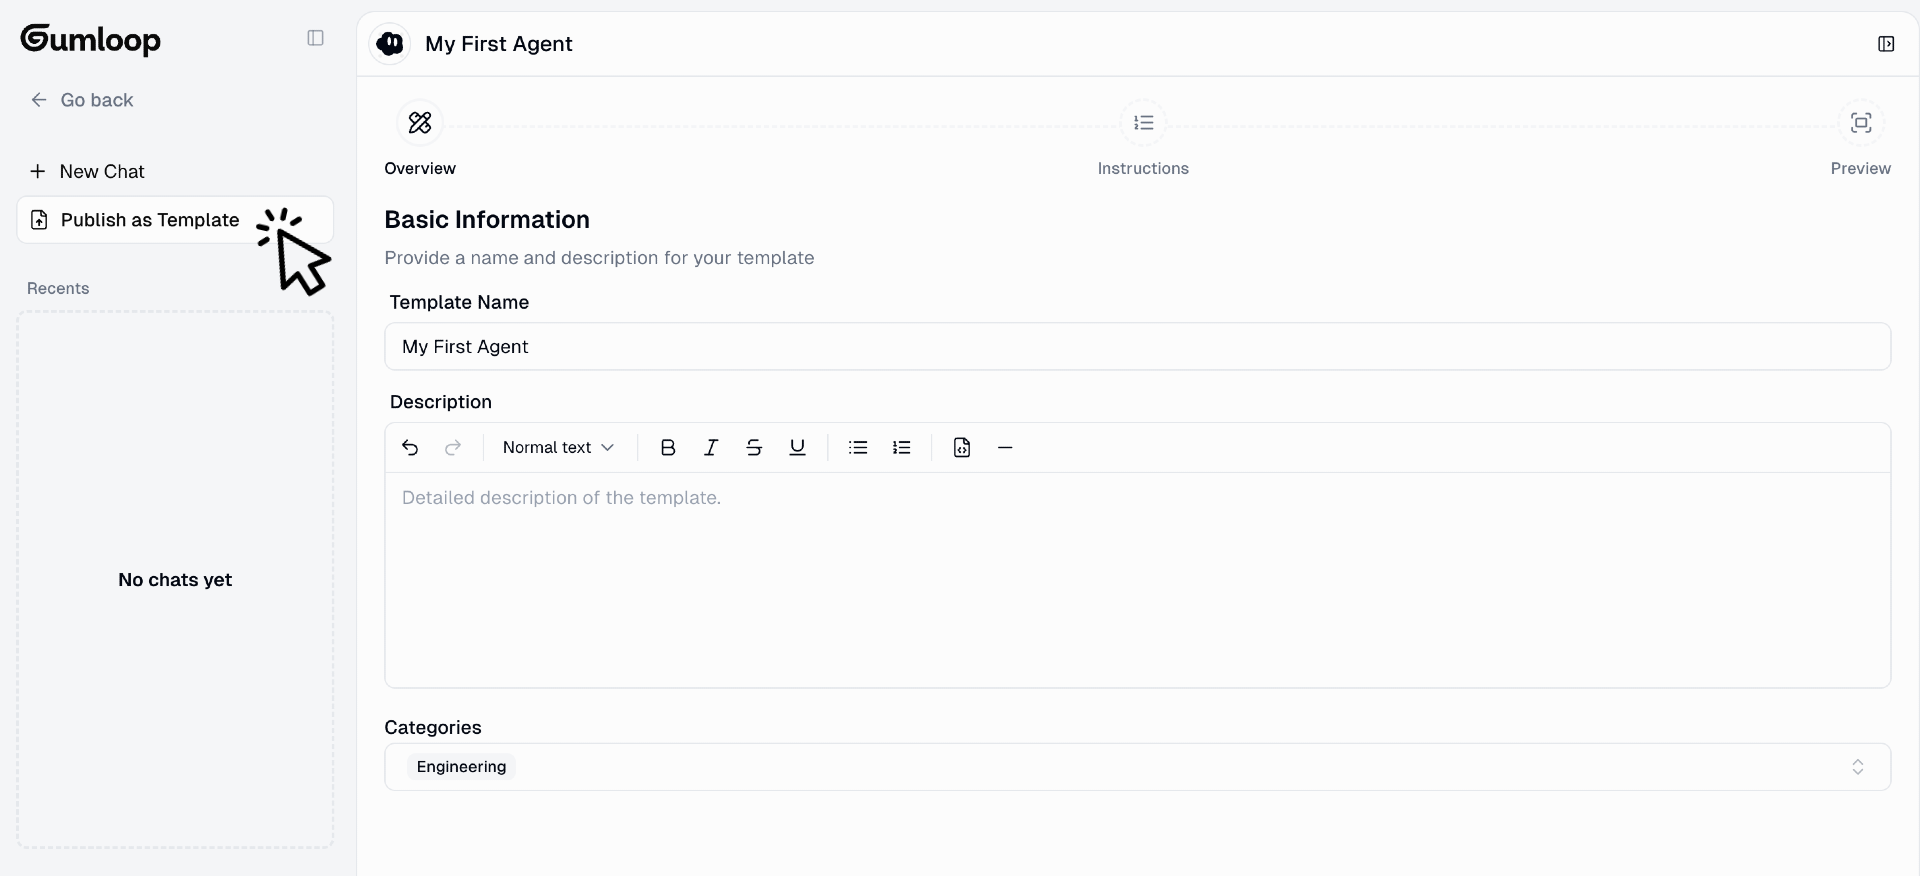
Editing Published Templates
Need to update a template after it’s been published? You can make changes and submit them for review.1
Open Your Published Template
Navigate to the workflow or agent that has been published as a template.
2
Click the Template Badge
In the top-right corner of your workflow or agent, you’ll see a Template badge or icon. Click on it to open the template editor.
3
Make Your Changes
The template editor will open, showing all your template configuration:
- General Information (title, description, categories)
- Credentials needed
- Setup checklist (for workflows)
- Agent instructions (for agents)
4
Submit Updated Template for Review
Once you’ve made your changes, click Save & Submit Edits for Review at the bottom of the template editor.Your updates will be sent to the Gumloop team for review.
5
Wait for Approval
The Gumloop team will review your changes to ensure they meet quality and security standards. Once approved, your updated template will go live on the marketplace.
Important: Users who have already cloned your template will not receive the updated version. Template updates only apply to new users who clone the template after your changes are approved. Each user gets their own independent copy when they use a template.
Delisting Templates
If you need to remove a template from the marketplace, you can delist it at any time.1
Open Your Published Template
Navigate to the workflow or agent that has been published as a template.
2
Click the Template Badge
In the top-right corner, click the Template badge or icon to open the template editor.
3
Delist the Template
At the bottom of the template editor, click Save & Delist Template.
Delisting a template removes it from the marketplace, but users who have already cloned your template will still have access to their copies. Delisting does not affect existing template clones.
Submission Requirements
Before submitting your template, ensure it meets all quality, security, and documentation standards.Must-Have Requirements
- Security Standards
- Quality Standards
No Security CredentialsDon’t store security credentials anywhere in the template (e.g., no hardcoded API keys in any custom nodes or agent instructions).Remove Sensitive InformationRemove all sensitive or personally identifying information (e.g., remove real email addresses, personal data).
Preparing Your Template
Before submitting, review these preparation checklists to ensure your template is ready:- Preparing a Workflow
- Preparing an Agent
Add Context with Note Nodes
Add Context with Note Nodes
The more context you provide about how your workflow operates, the better. Use Note nodes to explain:
- Where users need to input their own information or authenticate services
- What subflows, if/else operators, or custom nodes do
- Any important logic or decision points
Generalize Your Workflow
Generalize Your Workflow
Make your template easier for others to use by removing personal specifics:
- Check AI prompts for mentions of your company, coworkers, or specific strategies—reword them to be generic
- Check custom node code for hardcoded API keys or references to internal systems
- Add notes recommending where users should make their own customizations
Update All Nodes
Update All Nodes
Hover over all nodes to check if they’re upgraded to the latest versions. If a node needs updates, you’ll see an option like “Upgrade Version (v28 to v31)” when hovering over the node.
Use Descriptive Names
Use Descriptive Names
Rename nodes and outputs to clearly describe their purpose:
Clean Up Your Canvas
Clean Up Your Canvas
- Use auto-formatting to organize your layout
- Group related logic into subflows when appropriate
- Remove any unused or disconnected nodes
General Guidelines
Creating great marketplace templates means building automations that solve real problems and can be easily adopted by others across the Gumloop community.Real-World Relevance
Make templates that are relevant to real-world use cases
Do Something New
Check out what’s currently on the marketplace to get a sense of what’s already been done
Provide Context
Provide as much context as possible. Assume that the user may be new to AI automation
Keep It Clean
Keep your automation clean and easy to understand. For workflows, use auto-formatting and subflows when needed
Best Practices for the Template Description Page
The template description page is what potential users see when browsing the marketplace. Make it clear, comprehensive, and helpful.Creating Effective Titles
Use Action Verbs
The title should clearly describe the purpose of the template. Use action verbs (e.g. “Summarize,” “Optimize,” “Generate,” “Analyze”).
Include Key Features
For workflows, include the most important integrations (e.g. Google Sheets, YouTube, Apollo). For agents, highlight key capabilities.
Writing the Details Section
Use markdown formatting in the longform description (the “Details” section). Break up the description into sections:Recommended Sections
Recommended Sections
Who is this for?Describe the target audience.What problem is this solving?Explain the pain point this template addresses.What does this automation do?Provide an overview of how the workflow or agent operates.How can I customize this?For workflows, list configurable nodes and parameters. For agents, explain how users can modify instructions or behavior.RequirementsDetail prerequisites and setup needs (credentials, external tools, etc.).
External Resources
External Resources
If your automation requires external setup (e.g. a formatted Google Sheet, an Airtable database), include a link to make a copy.If necessary, include links to external setup guides (e.g. Notion page, YouTube or Loom videos).
Setting Up the Checklist (Workflows Only)
For workflow templates, include brief descriptions of steps a user would need to take to set up the template (e.g., “Make a copy of this Google Sheet,” “Connect to this Slack channel,” etc.)Bannable Offenses
If your template violates these guidelines, we will ban you and suspend your account.
Submission Checklist
Before submitting your template, verify it meets all requirements:- Workflow Templates
- Agent Templates
Pre-Submission Review
Pre-Submission Review
Content & Quality
- Template solves a real-world problem
- Checked marketplace for similar templates
- Workflow has been thoroughly tested and runs properly
- Description accurately reflects functionality
- All credentials and API keys removed
- All sensitive/personally identifying information removed
- Nodes renamed with descriptive names
- Outputs renamed to reflect actual data
- Note nodes added for context
- Auto-formatting applied
- Subflows used where appropriate
- Title uses action verbs
- Important integrations included in title
- At least one category selected
- Details section uses markdown formatting
- All recommended sections included in description
- External resource links provided where needed
- Setup checklist completed with clear steps
- Nodes linked to relevant setup steps
Related Resources
Subflows Guide
Learn how to use subflows for cleaner, more organized workflows
Browse Marketplace
Explore existing templates on the marketplace