> ## Documentation Index
> Fetch the complete documentation index at: https://docs.gumloop.com/llms.txt
> Use this file to discover all available pages before exploring further.
# Google Slides Writer
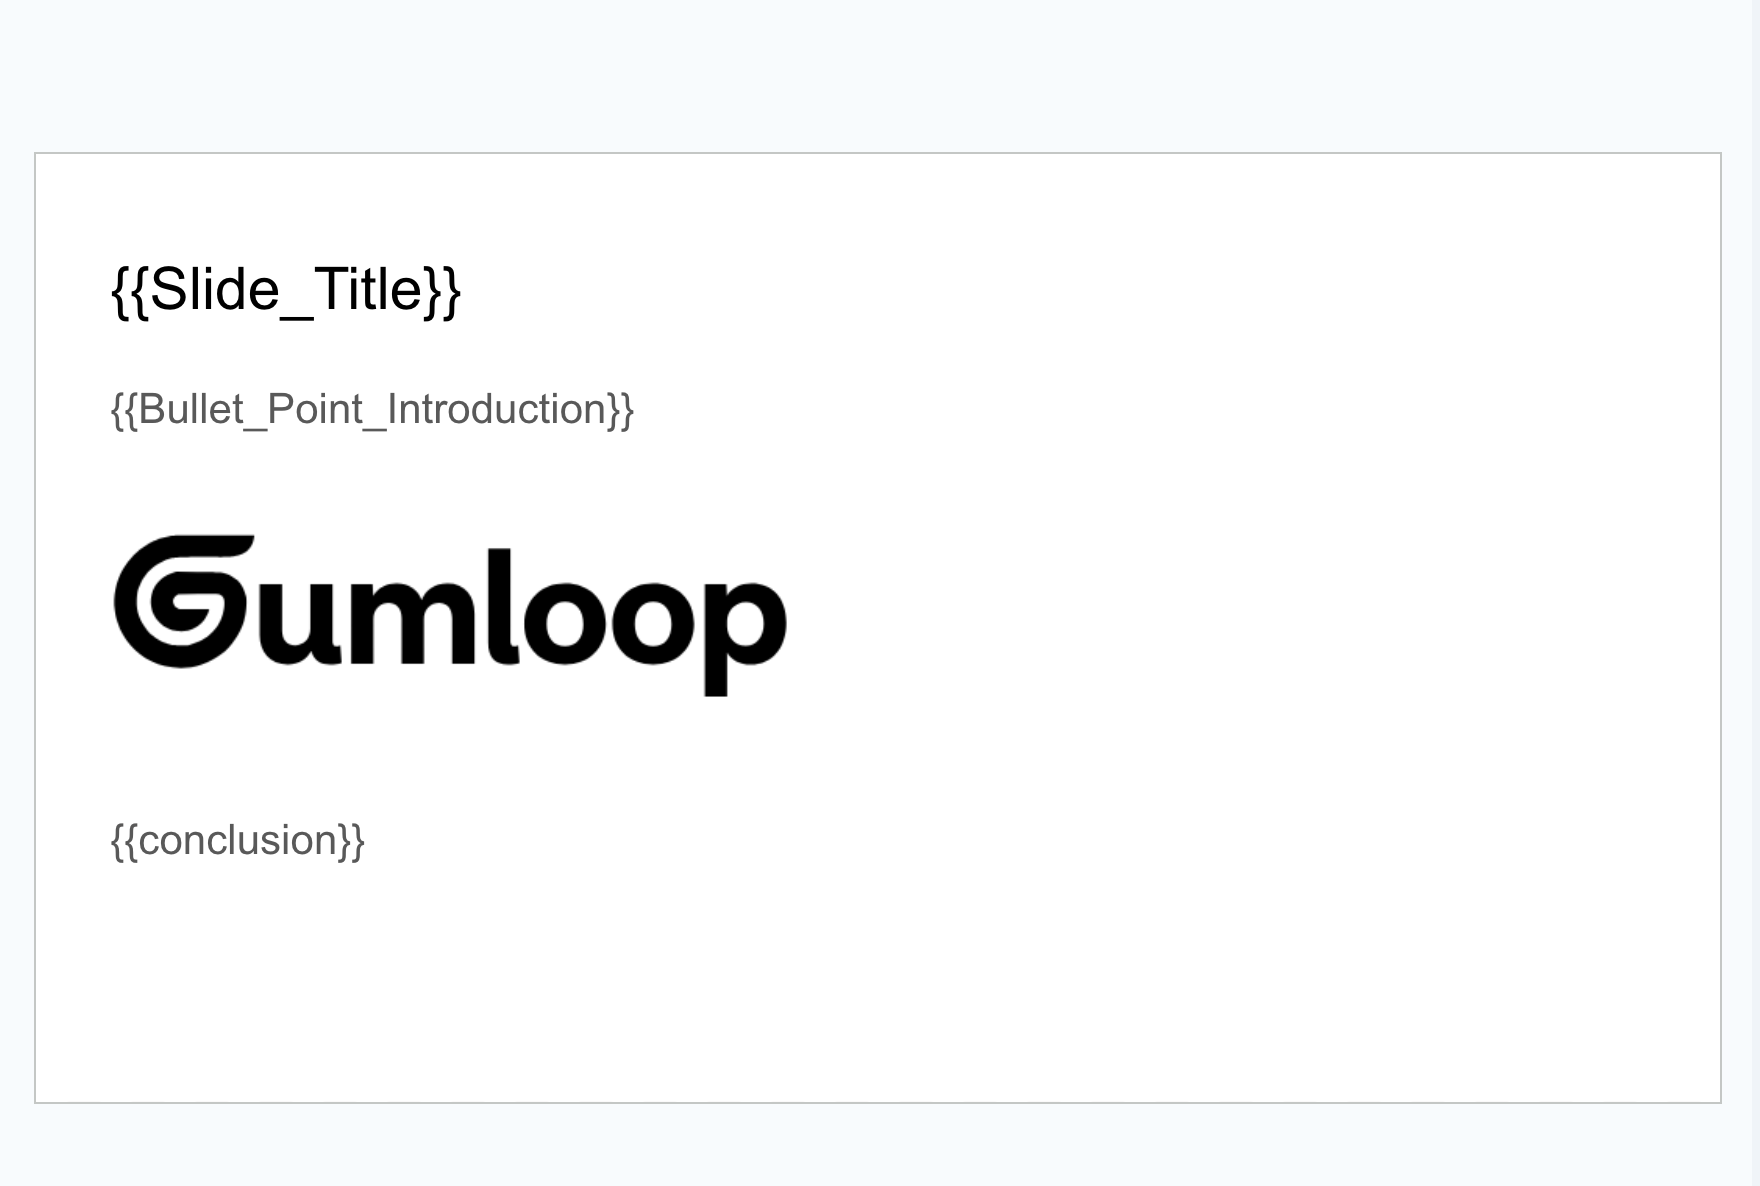
Create new Google Slides presentations by replacing placeholders in a template with dynamic content. Supports both text and image placeholders.
This node creates a **new** presentation from your template. It does not modify the original template file.
## Inputs
| Input | Description |
| ------------------------- | ----------------------------------------------------------------------- |
| **Template Presentation** | Select a Google Slides template from your Drive containing placeholders |
| **New Presentation Name** | Name for the newly created presentation |
| **Placeholder Values** | Dynamic inputs for each placeholder detected in your template |
### More Options
| Option | Description |
| -------------------------------- | ------------------------------------------------------------------------------------------------------------------------------ |
| **Error On Missing Placeholder** | When enabled (default), the node fails if any placeholder is missing a value. Disable to leave missing placeholders unchanged. |
## Outputs
| Output | Description |
| --------------------- | ------------------------------------------ |
| **Presentation Link** | URL to the newly created presentation |
| **Presentation ID** | Unique identifier for the new presentation |
## Text Placeholders
Add placeholders in your template using double curly braces: `{{placeholder_name}}`
### Valid Formats
* Simple: `{{title}}`, `{{subtitle}}`, `{{body_text}}`
* With spaces: `{{Company Name}}`, `{{Total Amount}}`
* With dots: `{{company.name}}`, `{{client.address}}`
* With hyphens: `{{sales-report}}`, `{{q1-revenue}}`
Placeholders cannot contain forward slashes (`/`), square brackets (`[]`), or colons (`:`).
### Supported Locations
* Slide titles and subtitles
* Text boxes
* Bullet points
* Table cells
* Speaker notes
To use literal curly braces (not as a placeholder), escape with a backslash: `\{{not a placeholder}}`
## Image Placeholders
Replace images in your template by setting a placeholder in the image's ALT text.
### Setup
1. Insert a placeholder image in your template
2. Right-click the image and select **Alt text**
3. Set the description to a placeholder name: `{{image_variable}}`
4. Save your template
When the node runs, provide an image URL as the placeholder value. The image will be replaced using center-crop to fit the original dimensions.
### URL Requirements
The replacement URL must:
* Start with `http://` or `https://`
* Be publicly accessible (Google's servers need to fetch it)
* Point to a supported image format (PNG, JPG, GIF, etc.)
## Using Google Drive Images
Google Drive sharing URLs don't work directly. Convert them to a direct URL format:
**Original Drive URL:**
```text theme={"dark"}
https://drive.google.com/file/d/FILE_ID/view?usp=sharing
```
**Convert to:**
```text theme={"dark"}
https://drive.google.com/uc?export=view&id=FILE_ID
```
The file must be shared as "Anyone with the link can view" for Google's servers to access it.
## Template Best Practices
When creating your template presentation:
* **Use descriptive placeholder names** that clearly indicate the content purpose (e.g., `{{quarterly_revenue}}` instead of `{{QR}}`)
* **Maintain consistent naming conventions** throughout your template (snake\_case or camelCase)
* **Consider using a distinct text color** for placeholder text to make them easy to identify during template creation
* **Test with sample data first** to ensure placeholders are positioned correctly
## Use Cases
* **Client Presentations**: Generate personalized decks with client-specific data and logos
* **Sales Proposals**: Create custom proposals with prospect details and pricing
* **Reports**: Automate weekly/monthly/quarterly report generation
* **Training Materials**: Produce personalized onboarding decks
## Example Workflow
```mermaid theme={"dark"}
%%{init: {'theme':'neutral', 'themeVariables': { 'primaryColor': '#f5f5f5', 'primaryBorderColor': '#ddd'}}}%%
flowchart LR
A["Google Sheets Reader"] --> B["Google Slides Writer"]
B --> C["Gmail Sender"]
```
1. **Google Sheets Reader** pulls client data (name, logo URL, metrics)
2. **Google Slides Writer** creates a personalized presentation from template
3. **Gmail Sender** delivers the presentation to the client
### Processing Multiple Presentations
To create presentations for multiple clients, use a subflow with Loop Mode:
1. Create a subflow containing: Input node → Google Slides Writer → Output node
2. In your main workflow, connect your data source (e.g., Google Sheets Reader) to the subflow
3. Enable **Loop Mode** on the subflow node
4. The subflow will create a separate presentation for each row of data
## Important Notes
* **Authentication**: Connect your Google account in [Connectors page](https://www.gumloop.com/personal/connectors)
* **Permissions**: Your Google account must have read access to the template and write access to Google Drive
* **Case Sensitivity**: `{{Company}}` and `{{company}}` are different placeholders
* **Placeholder Detection**: All placeholders are automatically detected when you select your template