> ## Documentation Index
> Fetch the complete documentation index at: https://docs.gumloop.com/llms.txt
> Use this file to discover all available pages before exploring further.
# Error Shield
The Error Shield node protects your workflows by catching and handling errors gracefully. Instead of letting your entire workflow crash when something goes wrong, Error Shield catches the error and lets you decide what happens next.
## Overview
Think of Error Shield as a safety net for risky operations. When you wrap a node with Error Shield, it creates two possible outcomes: a success path for data that processes correctly, and an error path for handling failures.
Catch errors before they stop your entire automation
Define custom logic for errors instead of generic failure messages
Identify which specific inputs caused problems in Loop Mode
Keep your workflow running even when some items fail
## How It Works
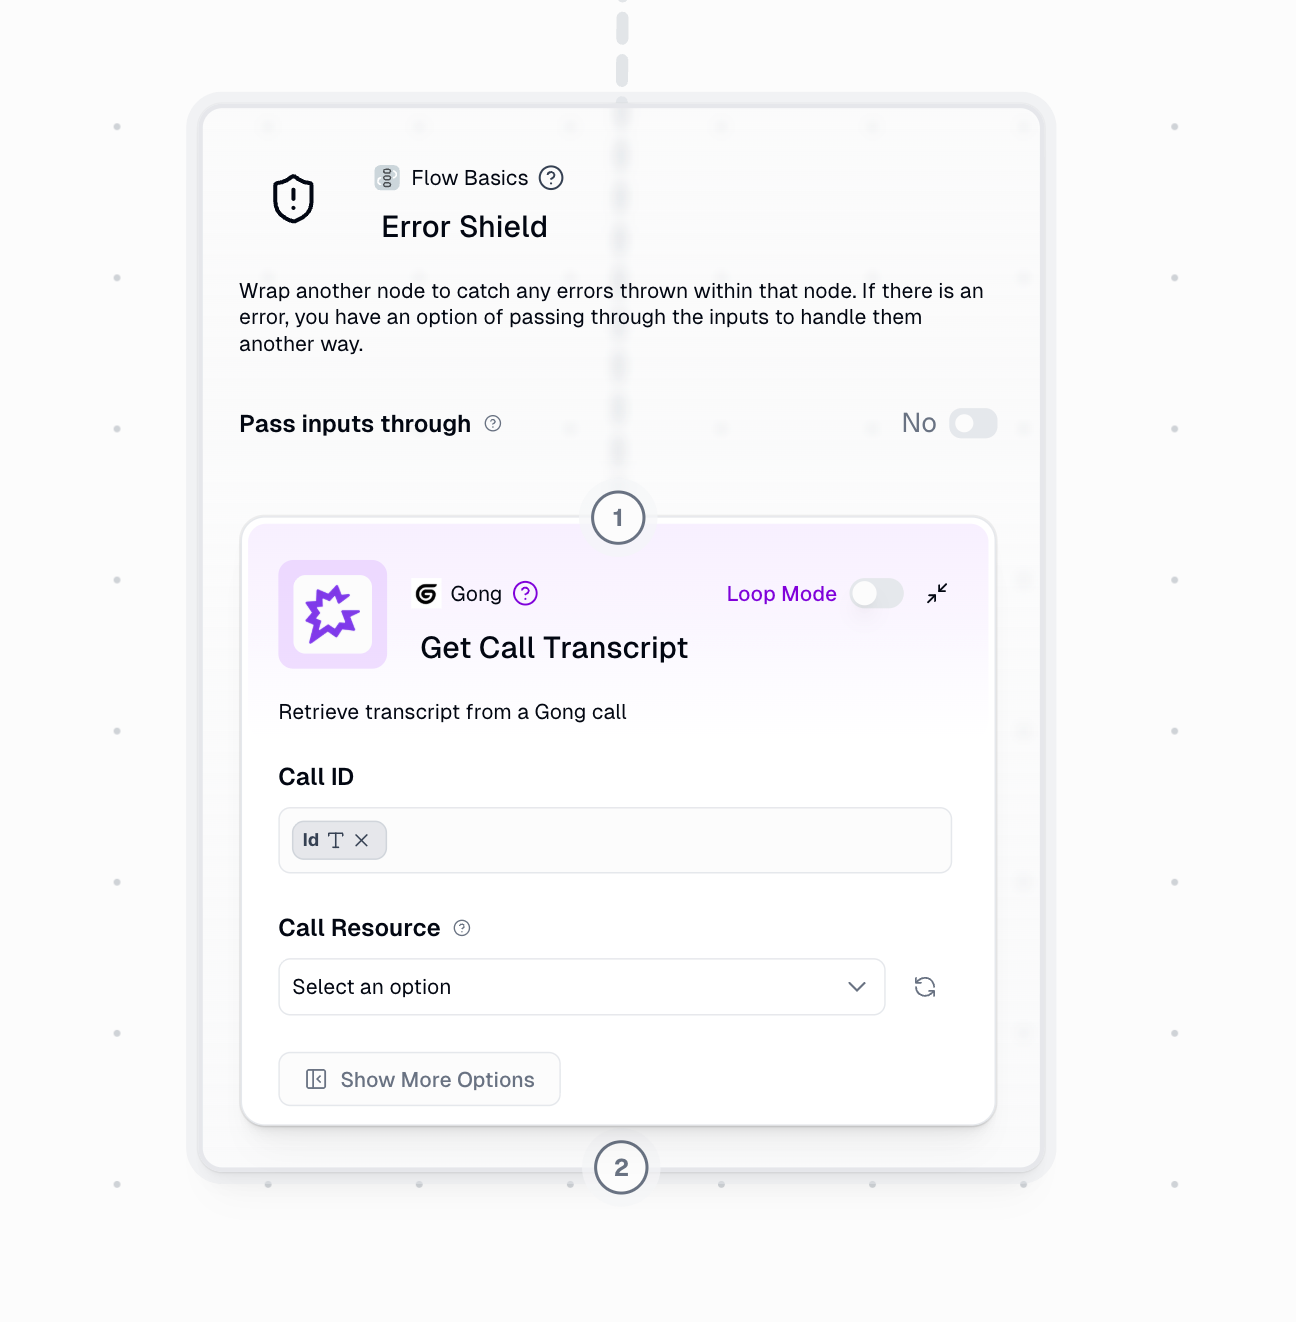
Error Shield wraps around other nodes and monitors their execution. When the wrapped node processes data:
* **Success**: Output workflows to the Success Path
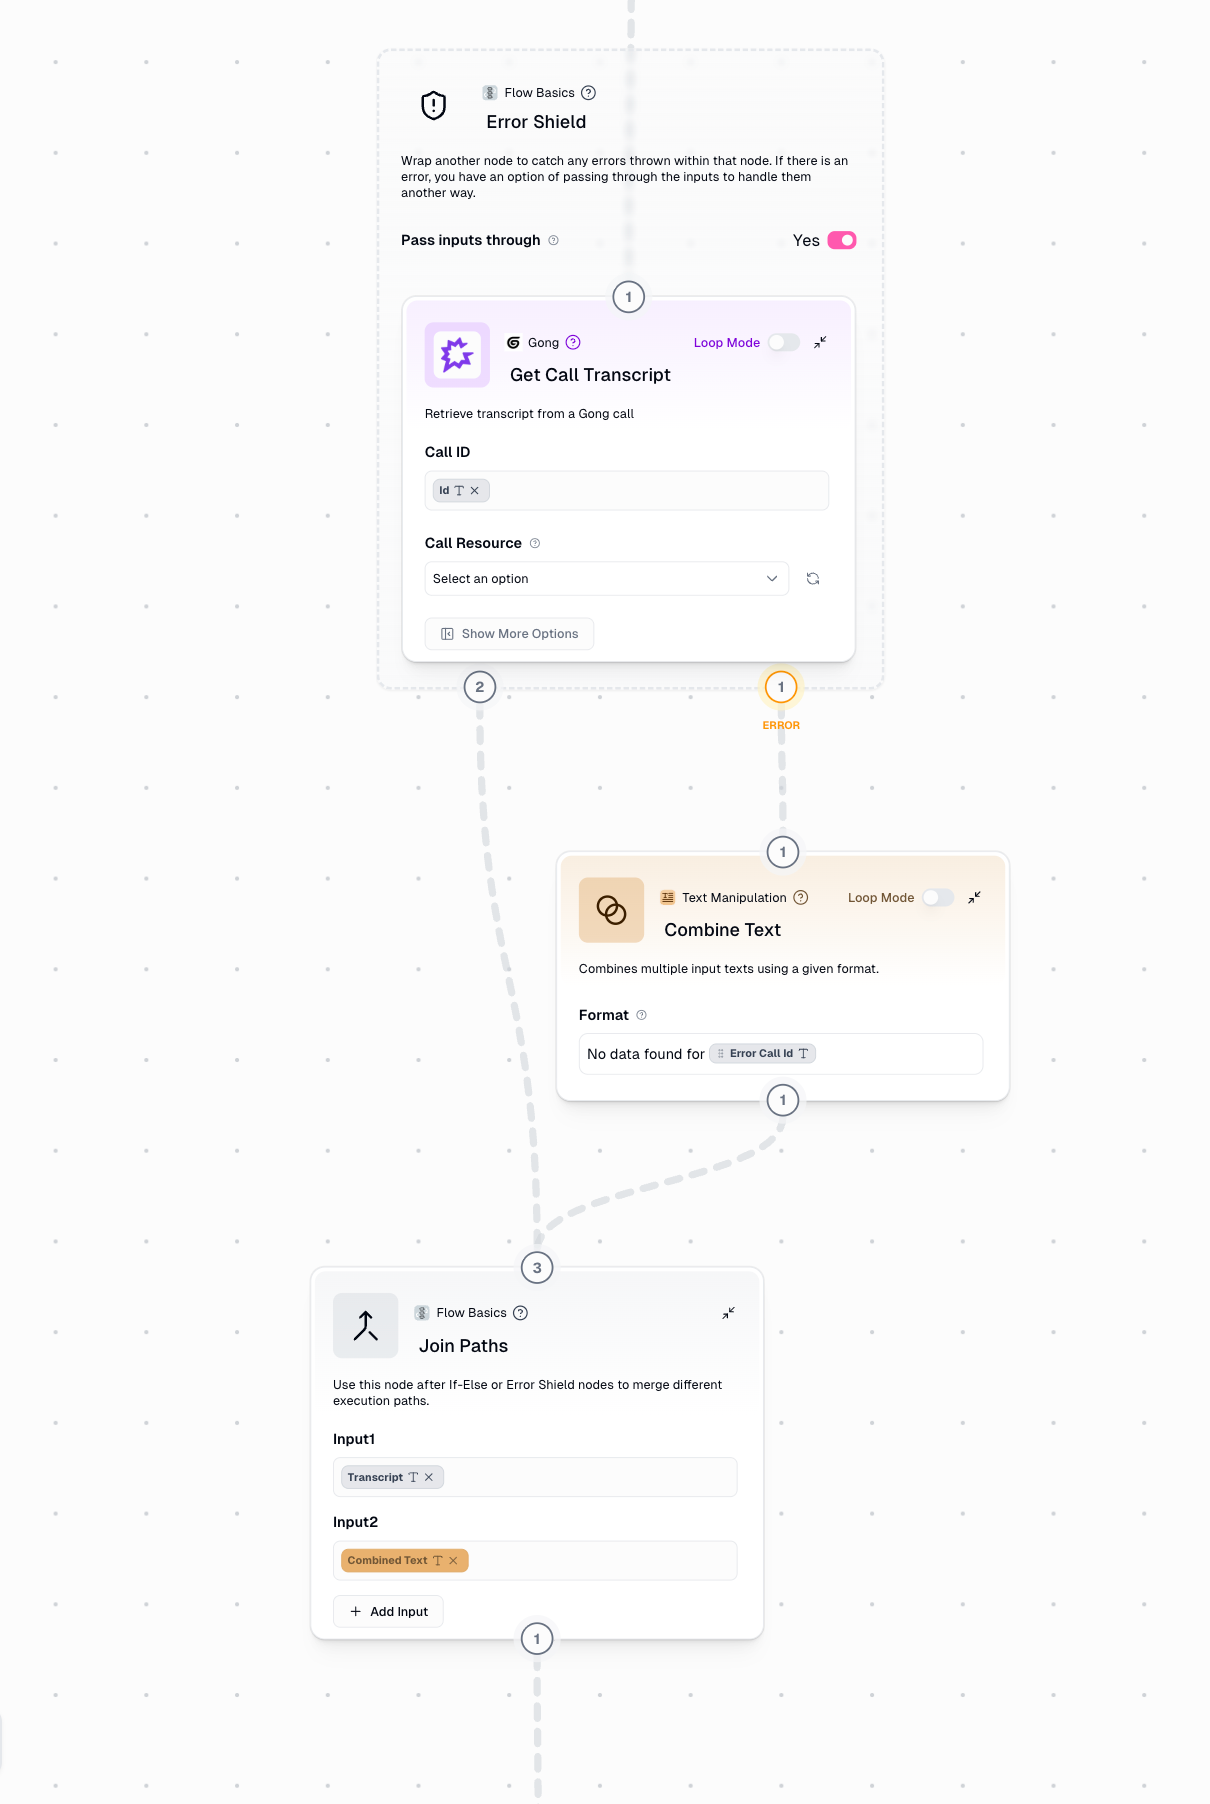
* **Failure**: Output workflows to the Error Path (original input if "Pass Inputs Through" is enabled)
This image shows how "Pass Inputs Through" sends the original input to the error path, and how Join Paths merges both success and error paths back together to continue the workflow.
**Try it yourself**: [View and clone this example workflow](https://www.gumloop.com/pipeline?workbook_id=dFkxAUGr3tZ9WVnzgHwYhi)
## Configuration
The node you want to protect from errors. Simply drag a node inside the Error Shield container to wrap it.
When enabled, the Error Path receives the original input that caused the error instead of an error message. This is essential when you need to:
* Log which specific items failed
* Retry failed items later
* Format fallback data based on the original input
**Example**: If scraping "[https://broken-site.com](https://broken-site.com)" fails, the Error Path receives "[https://broken-site.com](https://broken-site.com)" instead of just an error message.
## Outputs
Contains data that was successfully processed by the wrapped node.
**Single Item**: The processed result
**Loop Mode**: A list containing only the successfully processed items
Triggered when the wrapped node encounters an error.
**Without "Pass Inputs Through"**: Error message or empty output
**With "Pass Inputs Through"**: The original input(s) that caused the error
## Critical Behavior in Loop Mode
Understanding how Error Shield behaves in Loop Mode is essential for building reliable workflows.
### Node NOT in Loop Mode
When the wrapped node is **not** in Loop Mode, Error Shield processes a single item at a time:
```text theme={"dark"}
Website Scraper (Normal Mode) wrapped in Error Shield
Input: "https://example.com"
If successful:
✅ Success Path: Scraped content
❌ Error Path: Not triggered
If failed:
❌ Success Path: Not triggered (workflow stops here)
✅ Error Path: "https://example.com" (if Pass Inputs Through enabled)
```
**Without Loop Mode, a single failure stops the workflow at the Error Shield.** To continue processing after an error, you must use Join Paths to reconnect the error path back into your workflow.
### Node in Loop Mode
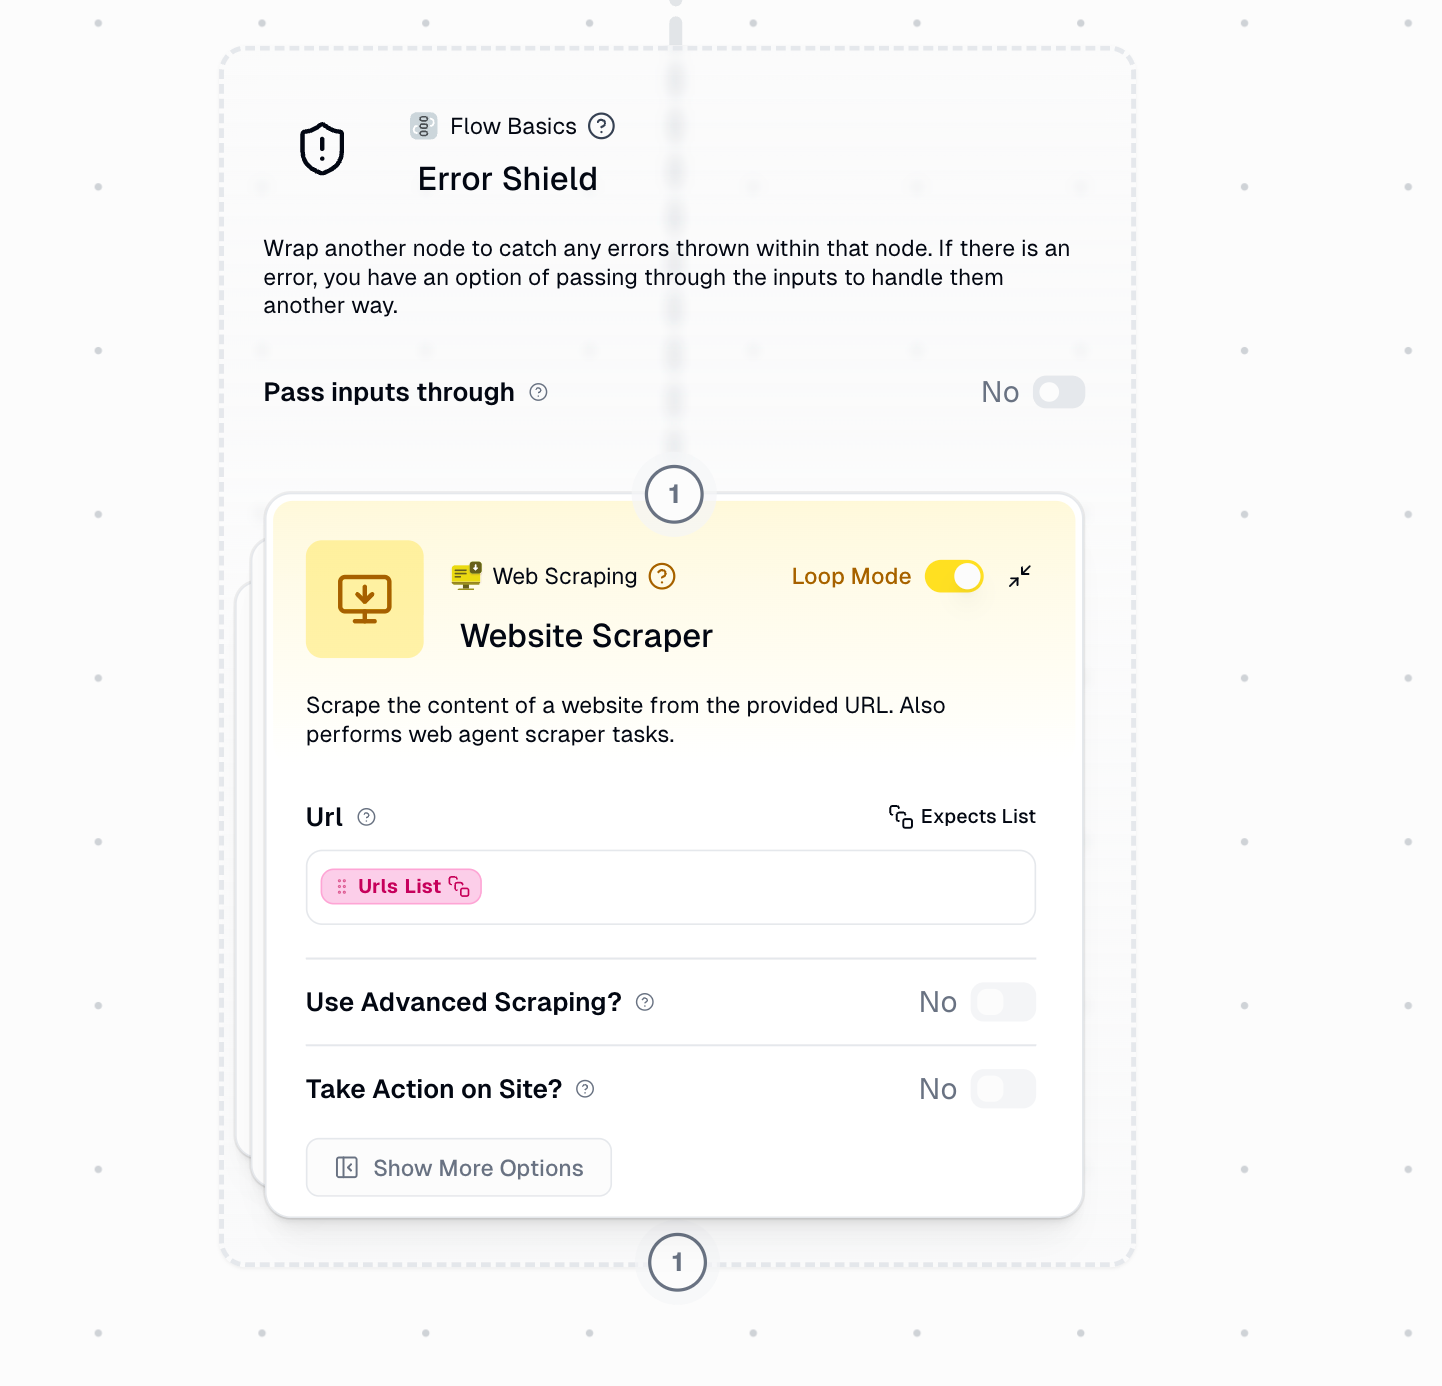
When the wrapped node **is** in Loop Mode, Error Shield processes each item individually and continues even when some items fail:
```text theme={"dark"}
Website Scraper (Loop Mode) wrapped in Error Shield
Input: [
"https://site1.com",
"https://site2.com" (fails),
"https://site3.com",
"https://site4.com" (fails)
]
Results:
✅ Success Path: [site1 content, site3 content]
❌ Error Path: ["https://site2.com", "https://site4.com"]
```
**Loop Mode automatically skips failed iterations.** The Success Path contains only successful results, while the Error Path captures all failed inputs. The workflow continues processing remaining items even after failures.
## Working with Join Paths
To continue your workflow after handling errors, use the Join Paths node to merge success and error paths back together.
### Basic Pattern: Single Item Processing
When processing individual items (not in Loop Mode), you need Join Paths to continue the workflow after an error:
Turn on "Pass Inputs Through" in Error Shield to access the original input on the error path
On the error path, create fallback data or a message indicating the failure
**Example**: Use Combine Text to create "Failed to process: \[original input]"
Connect both success and error paths to a Join Paths node to reunite them
After Join Paths, continue with the rest of your workflow logic
**Workflow Diagram**:
```mermaid theme={"dark"}
flowchart LR
A[Input URL] --> B[Error Shield]
B -->|Success| C[Website Content]
B -->|Error| D[Format Fallback:
'Site unavailable']
C --> E[Join Paths]
D --> E
E --> F[Save to Database]
```
**Error Shield Example with Join Paths**: [View and clone this example workflow](https://www.gumloop.com/pipeline?workbook_id=dFkxAUGr3tZ9WVnzgHwYhi)
Without Join Paths, the error path would be a dead end, and your workflow would stop when an error occurs.
## Real-World Examples
**Scenario**: Scrape product information from multiple websites, some of which may be down or blocked.
**Setup**:
1. List of product URLs → Website Scraper (Loop Mode) wrapped in Error Shield
2. Success Path → Extract product details → Format as JSON
3. Error Path (Pass Inputs Through enabled) → Log failed URLs to sheet
4. Join Paths → Send summary email with results and failed URLs
**Outcome**: Successfully scrapes available sites while documenting failures for manual review
**Scenario**: Process invoices from various sources, providing default values when extraction fails.
**Setup**:
1. Invoice PDF → Extract data (wrapped in Error Shield)
2. Success Path → Format extracted data
3. Error Path → Create record with "Manual review required" status
4. Join Paths → Save to database
**Outcome**: All invoices are logged, with failed extractions flagged for manual processing
**Scenario**: Fetch user data from external API that occasionally times out.
**Setup**:
1. User ID → API call (wrapped in Error Shield)
2. Success Path → Process user data
3. Error Path → Wait 30 seconds → Retry API call (wrapped in second Error Shield)
4. Second Success Path → Process user data
5. Second Error Path → Log failure and notify admin
6. Join Paths → Continue workflow
**Outcome**: Automatic retry for transient failures, with notifications only for persistent errors
**Scenario**: Send personalized emails to customer list, tracking delivery failures.
**Setup**:
1. Customer list → Send Email node (Loop Mode) wrapped in Error Shield
2. Success Path → Log successful sends to "Delivered" sheet
3. Error Path (Pass Inputs Through) → Log failed emails to "Bounced" sheet with customer details
4. Join Paths → Generate summary report
**Outcome**: Emails sent to all valid addresses, with bounce list for cleaning up customer database
## Common Use Cases
Handle website timeouts, blocks, or invalid URLs without stopping your entire scraping job
Continue processing a batch of files even if some are corrupted or in unexpected formats
Manage rate limits, timeouts, and invalid responses from external services
Process valid records while capturing and handling invalid ones separately
## Setup Guide
Drag the Error Shield node from the Workflow Basics section onto your workflow canvas
Place the node you want to protect inside the Error Shield container. The node will now be protected from errors.
Toggle this setting if you need to access the original input that caused errors. This is essential for:
* Logging which specific items failed
* Creating fallback data based on original input
* Retrying failed operations
Wire the Success Path output to the next step in your workflow that should receive successfully processed data
Connect the Error Path to error handling logic:
* Log failures to a database or sheet
* Send notification alerts
* Create fallback data
* Format error messages for users
If both paths need to continue through the same workflow logic, add a Join Paths node to merge them back together
Run your workflow with both valid and invalid inputs to ensure both success and error paths work as expected
## Best Practices
Wrap any node that might fail in Error Shield:
* External API calls
* Web scraping
* File operations
* Database queries
* Email sending
* Data transformations on uncertain input formats
When processing lists, always enable "Pass Inputs Through" so you can track which specific items failed and potentially retry them later.
If the wrapped node is NOT in Loop Mode, use Join Paths to allow your workflow to continue after error handling. Without it, errors create dead ends in your workflow.
For complex error handling in Loop Mode, wrap your entire processing logic in a subflow, then wrap the subflow in Error Shield. This keeps related data together and prevents list size mismatches.
[Learn more about Subflows with Error Shield](https://docs.gumloop.com/common_errors/list_size_mismatch#the-solution-error-shield-around-subflow)
## Additional Resources
Watch a step-by-step guide to using Error Shield
Learn how to merge conditional paths
Understand how Loop Mode processes lists
Fix common errors with Error Shield and Loop Mode